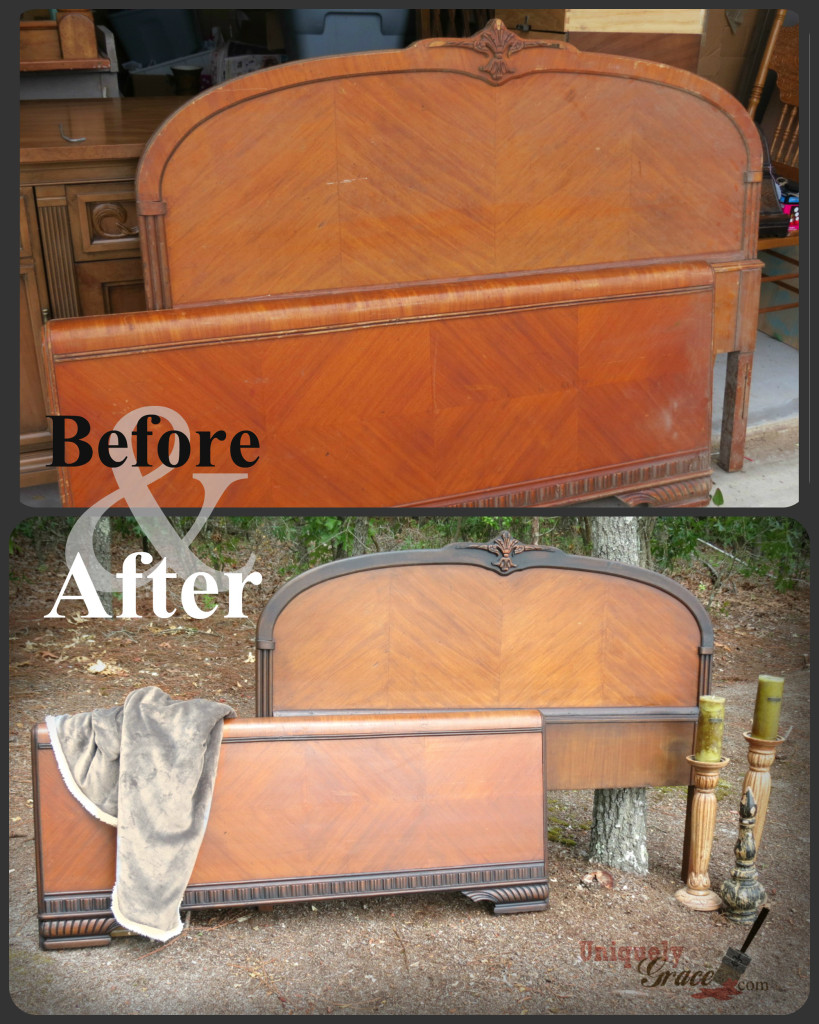
Meet Renee! Isn’t she stunning? She has made me rethink converting my art studio into a studio/guest room just so I can keep her, LOL!
Embracing the Vintage Charm

She started out looking so rough and beat up, but this headboard kept my attention the entire time I was at the yard sale where I found her. I kept coming back to it, she had such character, such vintage charm. The veneer was beautiful but dingy and peeling. Even missing in some spots… worn and splintering in others. The detail on the top of the headboard was missing sections and others were loose.
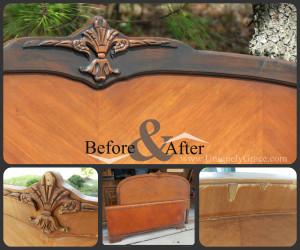
I repaired all I could of what was coming undone as she was falling apart. But I left the peaces that were missing … well… missing. I didn’t rebuild or re-veneer any parts of her or the details. I wanted to embrace the vintage charm she had.
The beauty of this restoration project is how easy it was to do and still keep the Vintage Charm of the piece. Shabby Paints Products are so fantastic and easy. Once she was repaired, the glue was dry and the rough edges sanded smooth, I cleaned her one last time. I left the original reddish undertone finish on her as it was in great shape aside from missing veneer or a few rough spots where the veneer had worn down. The spots that needed sanding was kind of a “pre-distressing” as I knew the product would look a little different in those areas, the difference in color would allow me to embrace the vintage charm even more.
I refinished this with my favorite wood top coat recipe that includes Hazelnut ReVax, Balck ReVax and some Brown Bronze Shimmer Glaze. Please see my video about how to mix and use this recipe.
The reddish under tones still show through a bit but the Hazelnut and Black in the recipe tones it down quite a bit. I used this top coat recipe over the entire piece.
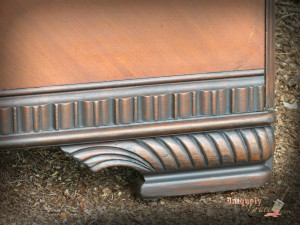
Now for the detailing…
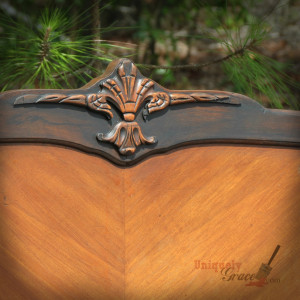
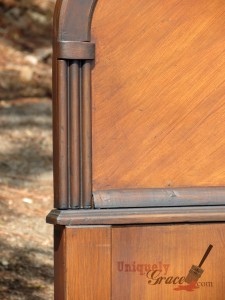
The edges and details I “antiqued” with a mix of Black ReVax and Licorice Chalk-Acrylic Paint to make it more opaque but not 100%. I wanted something that would still allow the Hazelnut mix to peek through the brush strokes a bit. I brushed it on… and wiped it off lightly with a baby wipe. It’s that simple. I put more pressure on the details and some edges to get more of the back off and allow more of the Hazelnut mix to shine through creating highlights and embracing the vintage charm more and more. I then sealed it with Sheer Vax and called it a night!
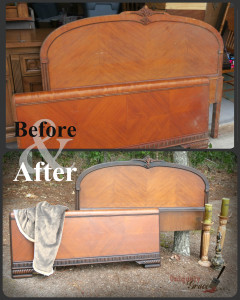
I hope you enjoyed this post and restoration of this beautiful bed and how to embrace the Vintage Charm of a piece. Here is the before and after this restoration one more time so you can really see the difference now that you know all my tricks. LOL!
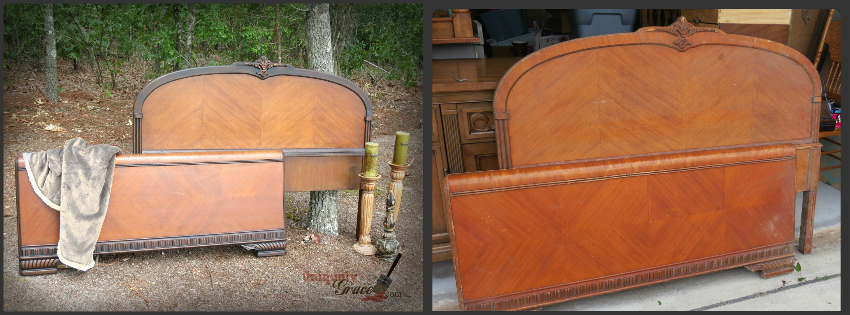
I wish you all well as you go through your day. I am here and happy to help in any way I can, either a question about the vintage charm or a painting question. Please feel free to contact me or leave me a comment if you have any questions.
God Bless!

Shabby Paints Stylist
Locally in Columbia, South Carolina
Facebook: Uniquely Grace
Twitter: Grace Lauer Artist @gracelauer
Instagram: @gracelauer_henna_artist
Pinterest: L. Grace LauerThis project is highlighted and blogged about on White Walls Online.

