Welcome to the final day of the 4th Annual Handmade Holidays Blog Hop! We hope you enjoyed the projects from the last 2 days! A few years ago we were looking online for handmade gift ideas and thought it would be great if there was a resource dedicated JUST to handmade gift ideas. Enter the Handmade Holidays hop! We’ve gathered over 100 of our creative blogger friends in the craft industry as well as some of our fellow product manufacturers to bring you a plethora of inspiring gift ideas you can make now to give to your friends, family, and colleagues. Pin and bookmark these ideas for this holiday season and to use throughout the year! Each day of the hop features approximately 30 gift projects and you can “hop” from one blog to another to check them all out.
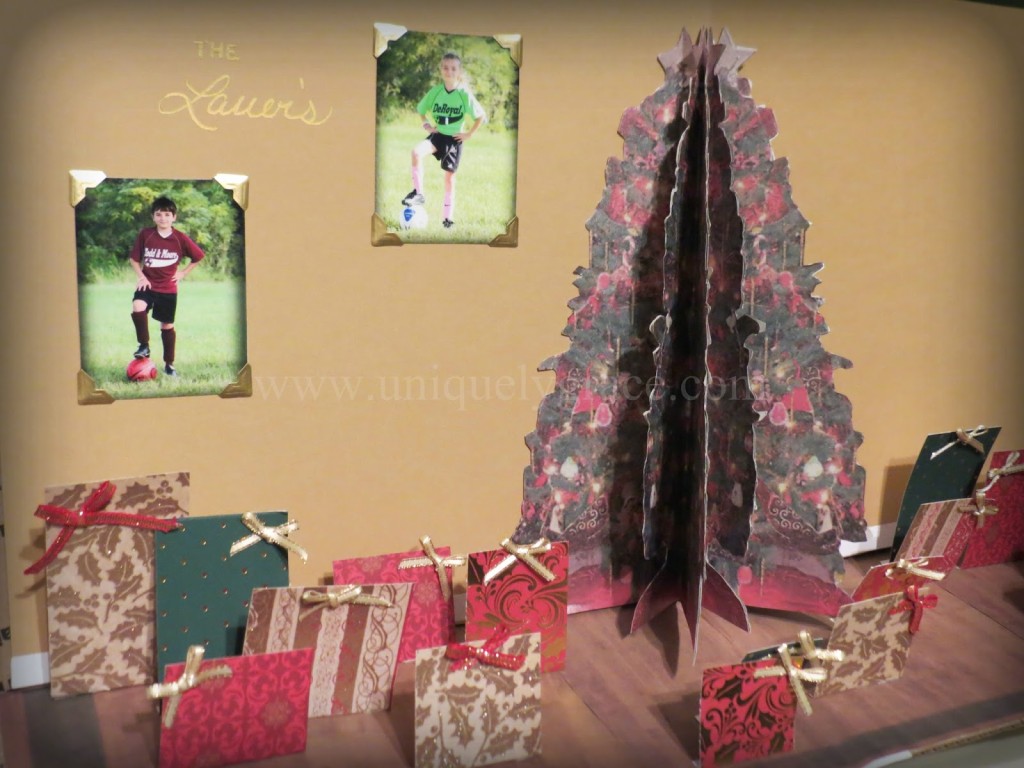
Grab your favorite beverage and sit back and relax… Here is the gift of “Home for the Holidays” for a “Christmas in a Deployment Box”
- Get a box from the post office or any box will do.
And find the glued corner joint
Unfold the box.
Cut one side off so there are now 3 panels. Place packing tape or duct tape, I chose white duct tape to go over the vertical folds that are left. (This is for shipping).
3. Print out images of your flooring and other home areas you wish to add. I chose our fireplace decorated with Christmas. The flooring is special too. This flooring was designed and installed by my hubby and I . It is special for us so I know this detail will mean something to him.
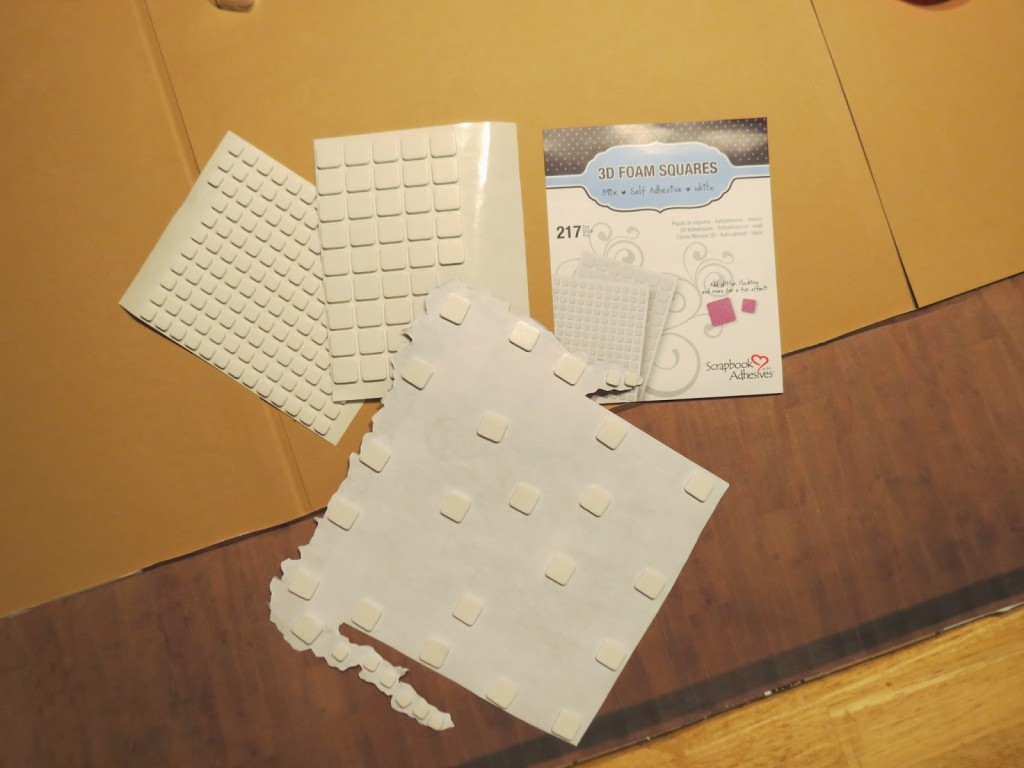
Today I am using Scrapbook-Adhesives.com’s supplies. Here is an image of my adhesives, there are some I didn’t get to use but I do love them all.
4. Find your placement on the box. I have one tree cut out for here for a visual placement. The tree must go on a vertical fold.
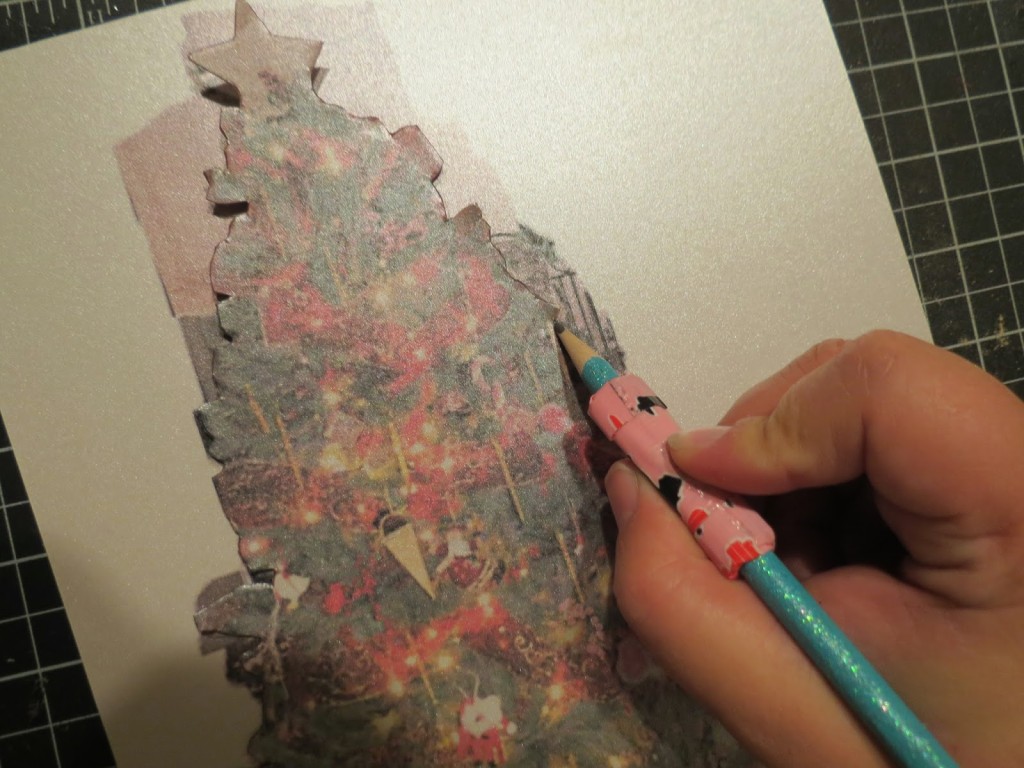
5. Trace your original cut out. Then flip it over and trace it on the other 3 of the opposite printouts.
Then stack them all up so the outlines are suppose to be matching, 3 right side up and 3 right side down. This way they match and line up more clearly, Trees can be hard to match up when hand cut with all those little branches.
6. Choose a color of cardstock for your wall color. I used 4 sheets, 3 hole and one to cut into strips to place over the vertical folds and adhere, I used Scrapbook-Adhesives.com’s E-Z Runner. This color matches the color of our walls in our living room.
7. Cut out the flooring to fit on the 3 lower folded flaps and adhere them with Scrapbook-Adhesives.com’s E-Z Runner. Like I said before this flooring was a project the hubby and I worked on together and we love how it turned out. It’s a nice detail to add by using photos of our own floor.
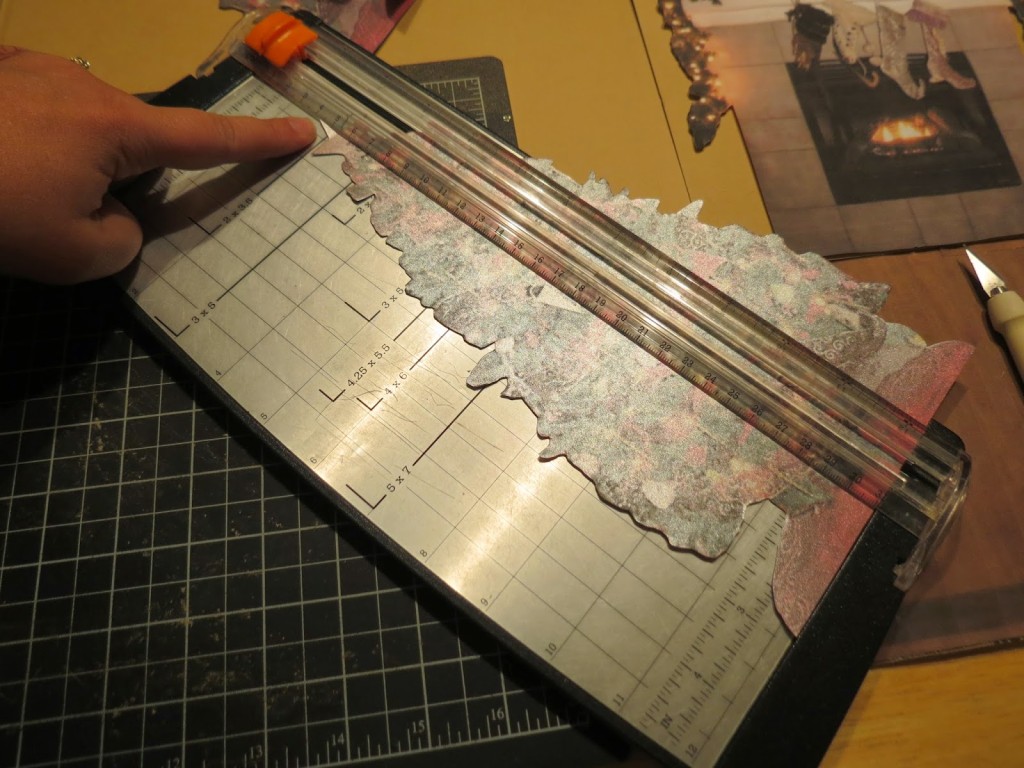
9. Now lets get rolling on our POP UP tree! I am excited about this one! Place one of your 6 trees you cut out in your cutter, WE WILL NOT BE CUTTING! We will be folding. I lined up the bottoms flush with my cutter’s guide and then shifted the trees from left to right till the very top of the star was along the edge I was using to help me fold it.
Once lined up I gently worked the cardstock up words until I got a nice fold right down the center point, the top of the star.
Repeat for the rest of your trees. Notice that one side is wider then the other. That is okay because the bottoms and tops will match up I promise.
Using some of Scrapbook-Adhesive.com’s Crafty Power Tape I adhered one side of a tree to the same sized side (reverse print out).
Repeat this until you have them all connected and it looks like this.
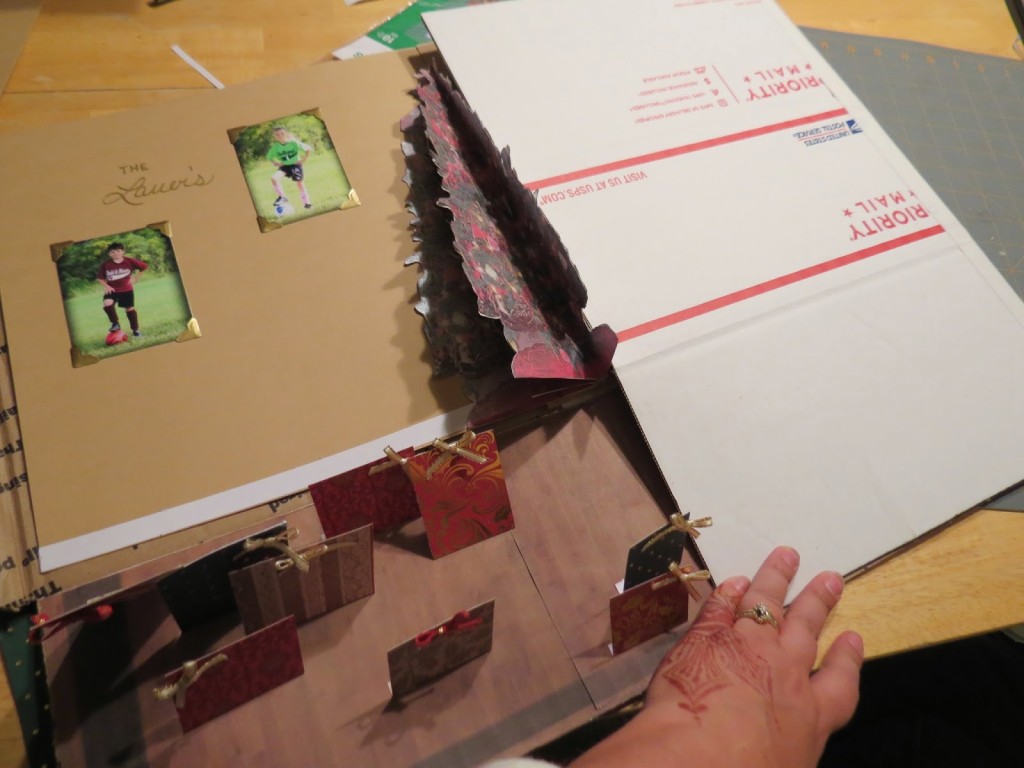
One of the best things about these presents is we have written things we love about our Daddy on the backs. There are 25 gifts so he can read one a day in December till Christmas. You don’t have to do the Advent if you don’t have the time to send it that far in advance to your service member or college student.
12. Write your message. Our’s is private and will be written with the kid’s help once we can sit down. So it’s not pictured here.
13. How to fold it up, it’s ready to ship! Make sure all your presents are flattened up and slowly close the right section checking on your presents as you close it. When you get to the tree. I laid it down flat and the side of the box goes right down the middle of the tree.
Then fold the left side with the wallets on it over to the right. Do it slowly checking on your gifts and the tree. Tape, label and ship! Mark on the outside of the box ‘OPEN CAREFULLY HERE” with an arrow to the side that can be unsealed. My hubby get’s our packages and mail in about 2.5 weeks. So if you want to do this for your’s plan ahead for the shipping or leave out the advent part.
My hubby get’s our packages and mail in about 2.5 weeks. So if you want to do this for your’s plan ahead for the shipping or leave out the advent part.
Let’s take a look once again:
The beauty of this is it could lay flat and hung on the wall of their quarters or it could have the floor folded up 90 degrees and sit on a dresser or even a windowsill! Little space for a little bit of “Home for the Holidays”.
God bless all our service men and women who can not be with their loved ones this season of joy, love and happiness.
Are you ready for lots more creative handmade gift ideas and projects??
Follow along on our blog hop! Simply click on each of the links below to be taken to that post with additional information and photos on how to create a handmade gift project. Have fun and pin away!
Tami Mayberry Art & Design – Tami Mayberry
Jamie Dougherty – Jamie Dougherty Designs
Elizabeth Craft Designs – Raquel Mason
Scrapbook Adhesives by 3L – Angela Ploegman
Carolyn Dube – A Colorful Journey
Pink and Main – Mistyana Wright
The Buckle Boutique – Niki Wilson
It’s Sew Lorine – Lorine Mason
L. Grace Lauer – Uniquely Grace
Oh Snap Lizzie – Lizzie Sanchez
Polly Carlson – Pieces by Polly
Ellison Educational Equipment – Jan Hobbins
RoseRedd Paper Studio – Rochelle Washington
Follow our Handmade Holidays Gift Ideas Pinterest board for even more inspiration!
A huge thank you to our sponsors for this hop – please visit their blogs & websites below and follow them. And be sure to come back tomorrow for another 30+ amazing Handmade Gift Ideas!

Clearsnap || Ellison Educational Equipment || Walnut Hollow || Graphic45 || Westcott || ICE Resin || Therm O Web || Rowland Industries || Scrapbook Adhesives by 3L || Pink and Main || Elizabeth Craft Designs || The Buckle Boutique || Neat and Tangled
Additional Sponsorship provided to bloggers by:
Sakura || Fairfield Processing


