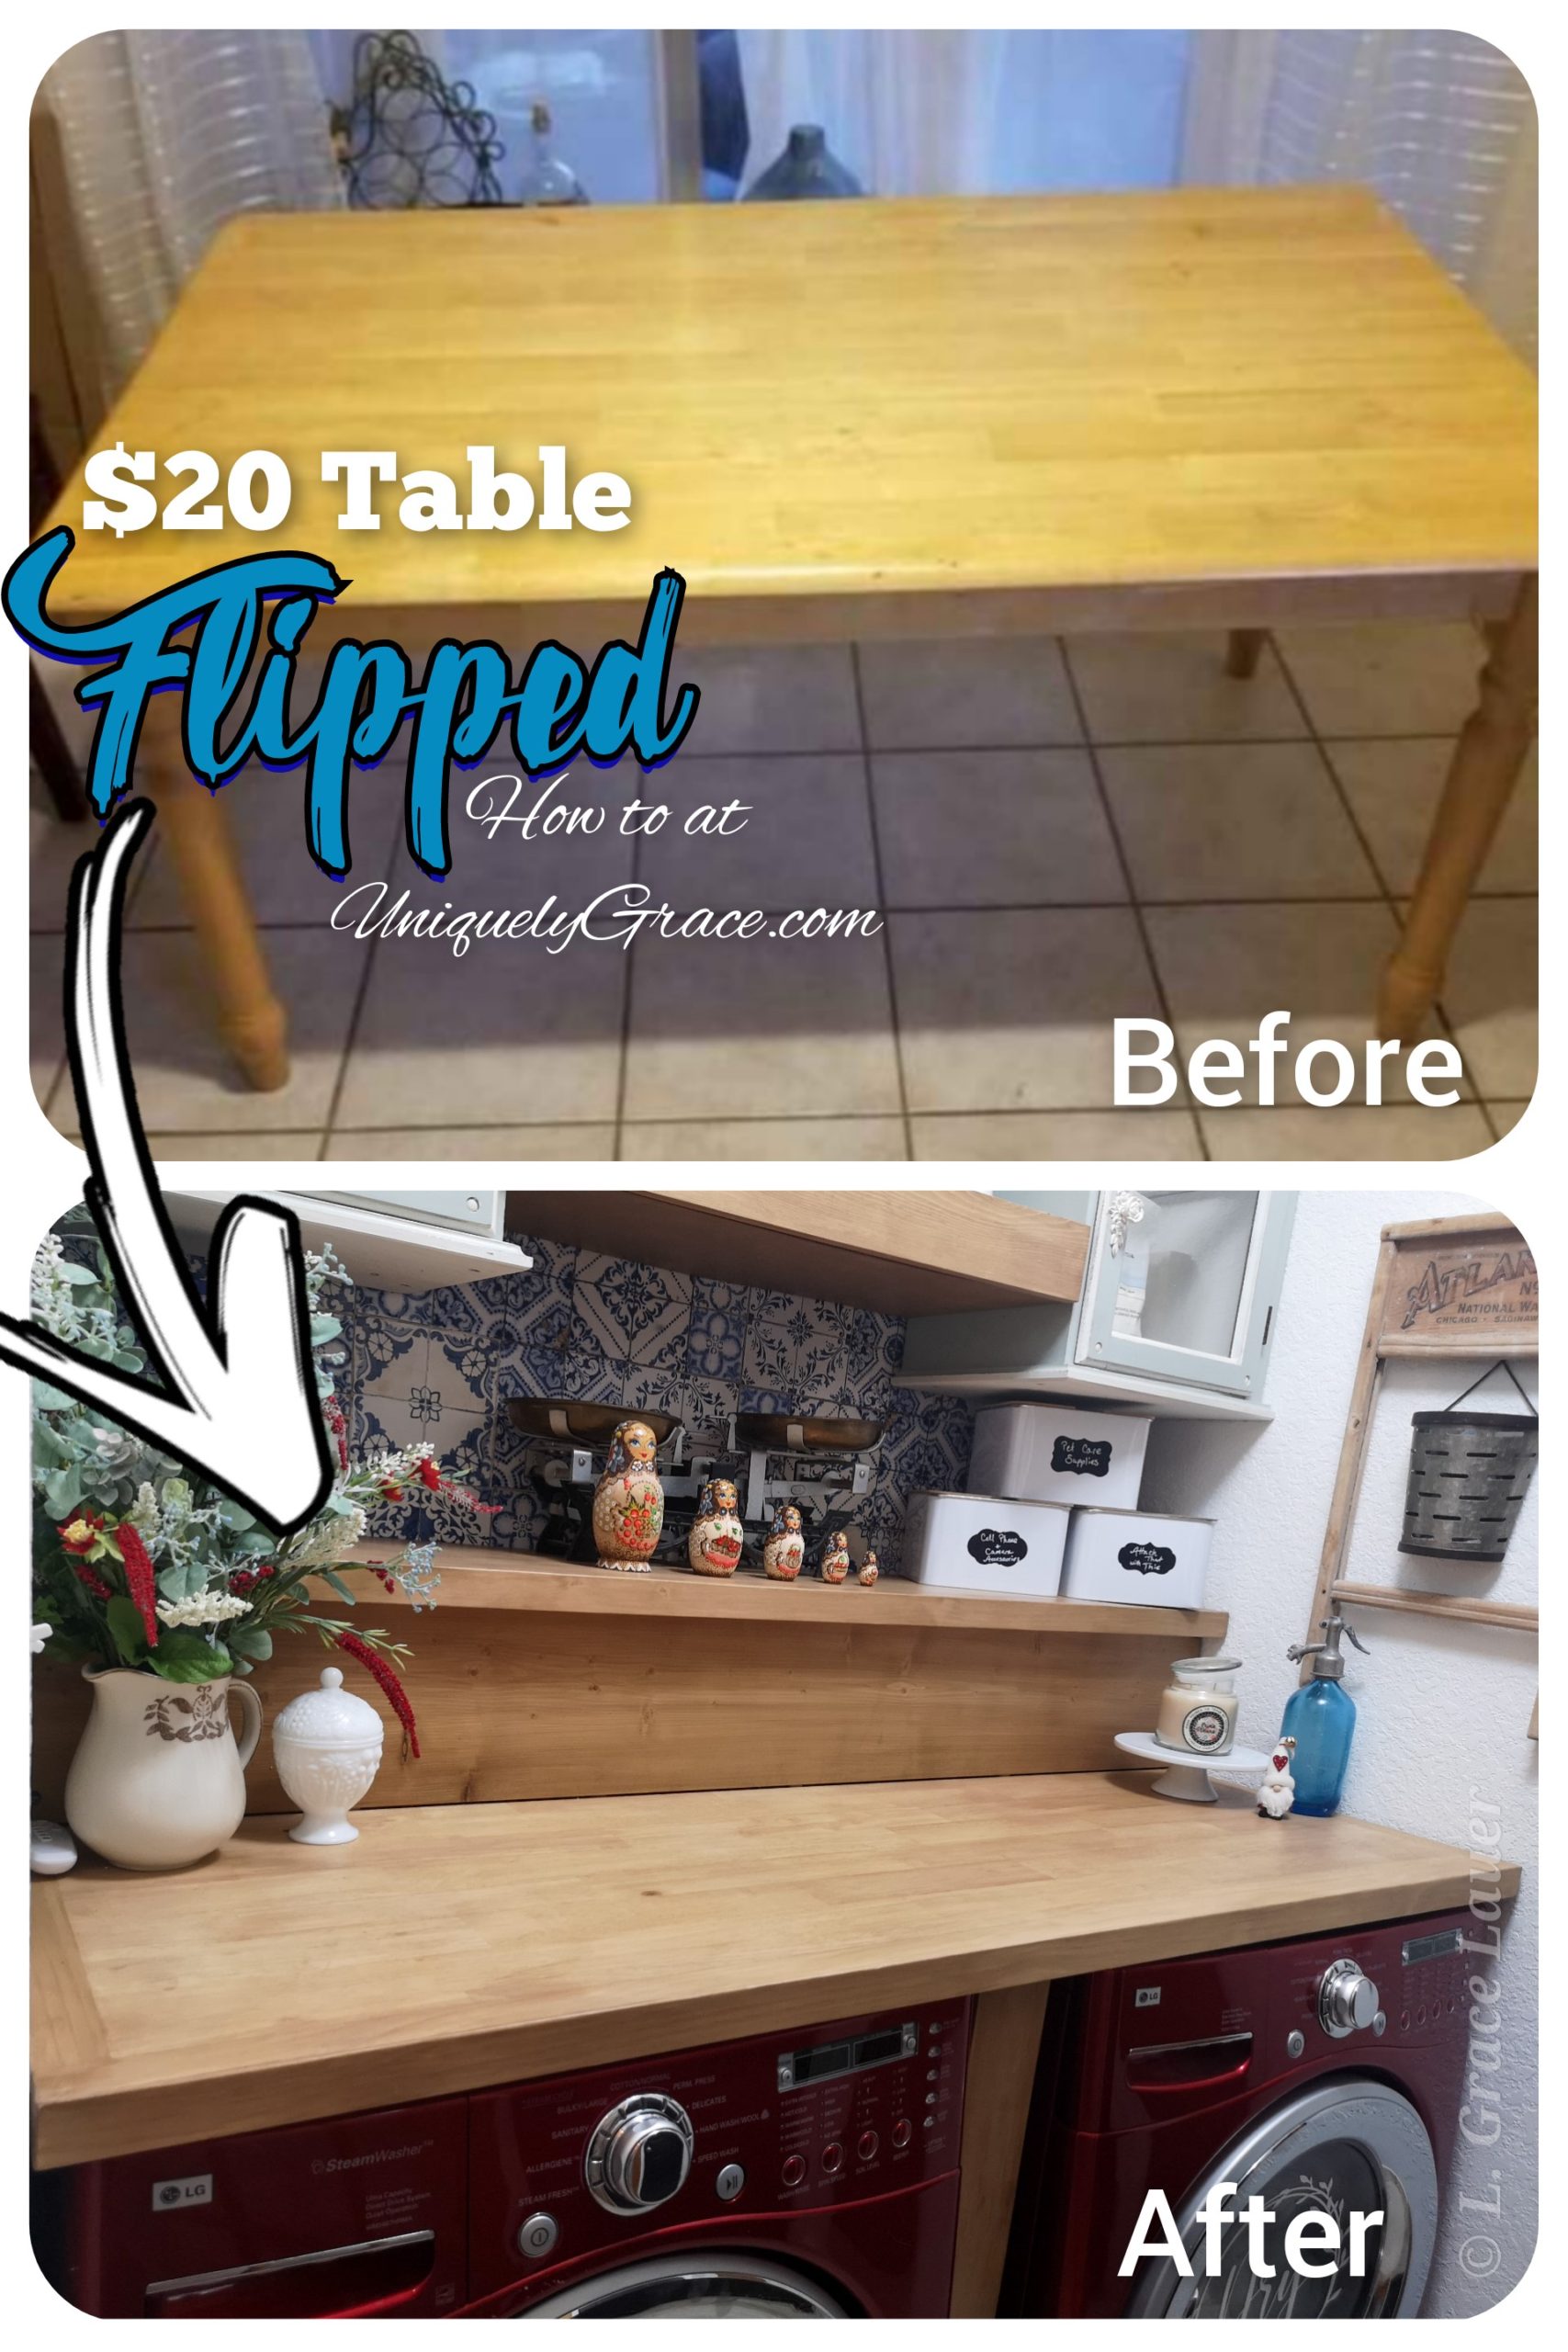
Dining Room Table flipped into this upcycled laundry folding countertop? YES people, and it looks awesome… it is fire as my kids say. So come with me on my journey…
A little background as to where I have been.
It was a much needed but way to long break from this website as we hopped over the pond and were blessed to live in Germany for 4.5 years. I down right missed this! I miss you all! My hubby is active duty for the US military so we go where the government tells us.
I have to say though it was extremely hard to leave this site and all my wonderful readers behind, I can’t say I wasn’t excited to live in Europe. Have you ever quit what you love to do cold turkey? Let me tell you it was not easy. I filled my time and energy with hunting down European treasures at Flohmarkts (flea markets) in countries like Germany, Belgium, Netherlands, France, Poland and Italy. Not to mention the traveling we did as a family… it was a wonderful time. I can go down that rabbit hole all day long so I will stop here.
That brings us to where we are now… TEXAS!
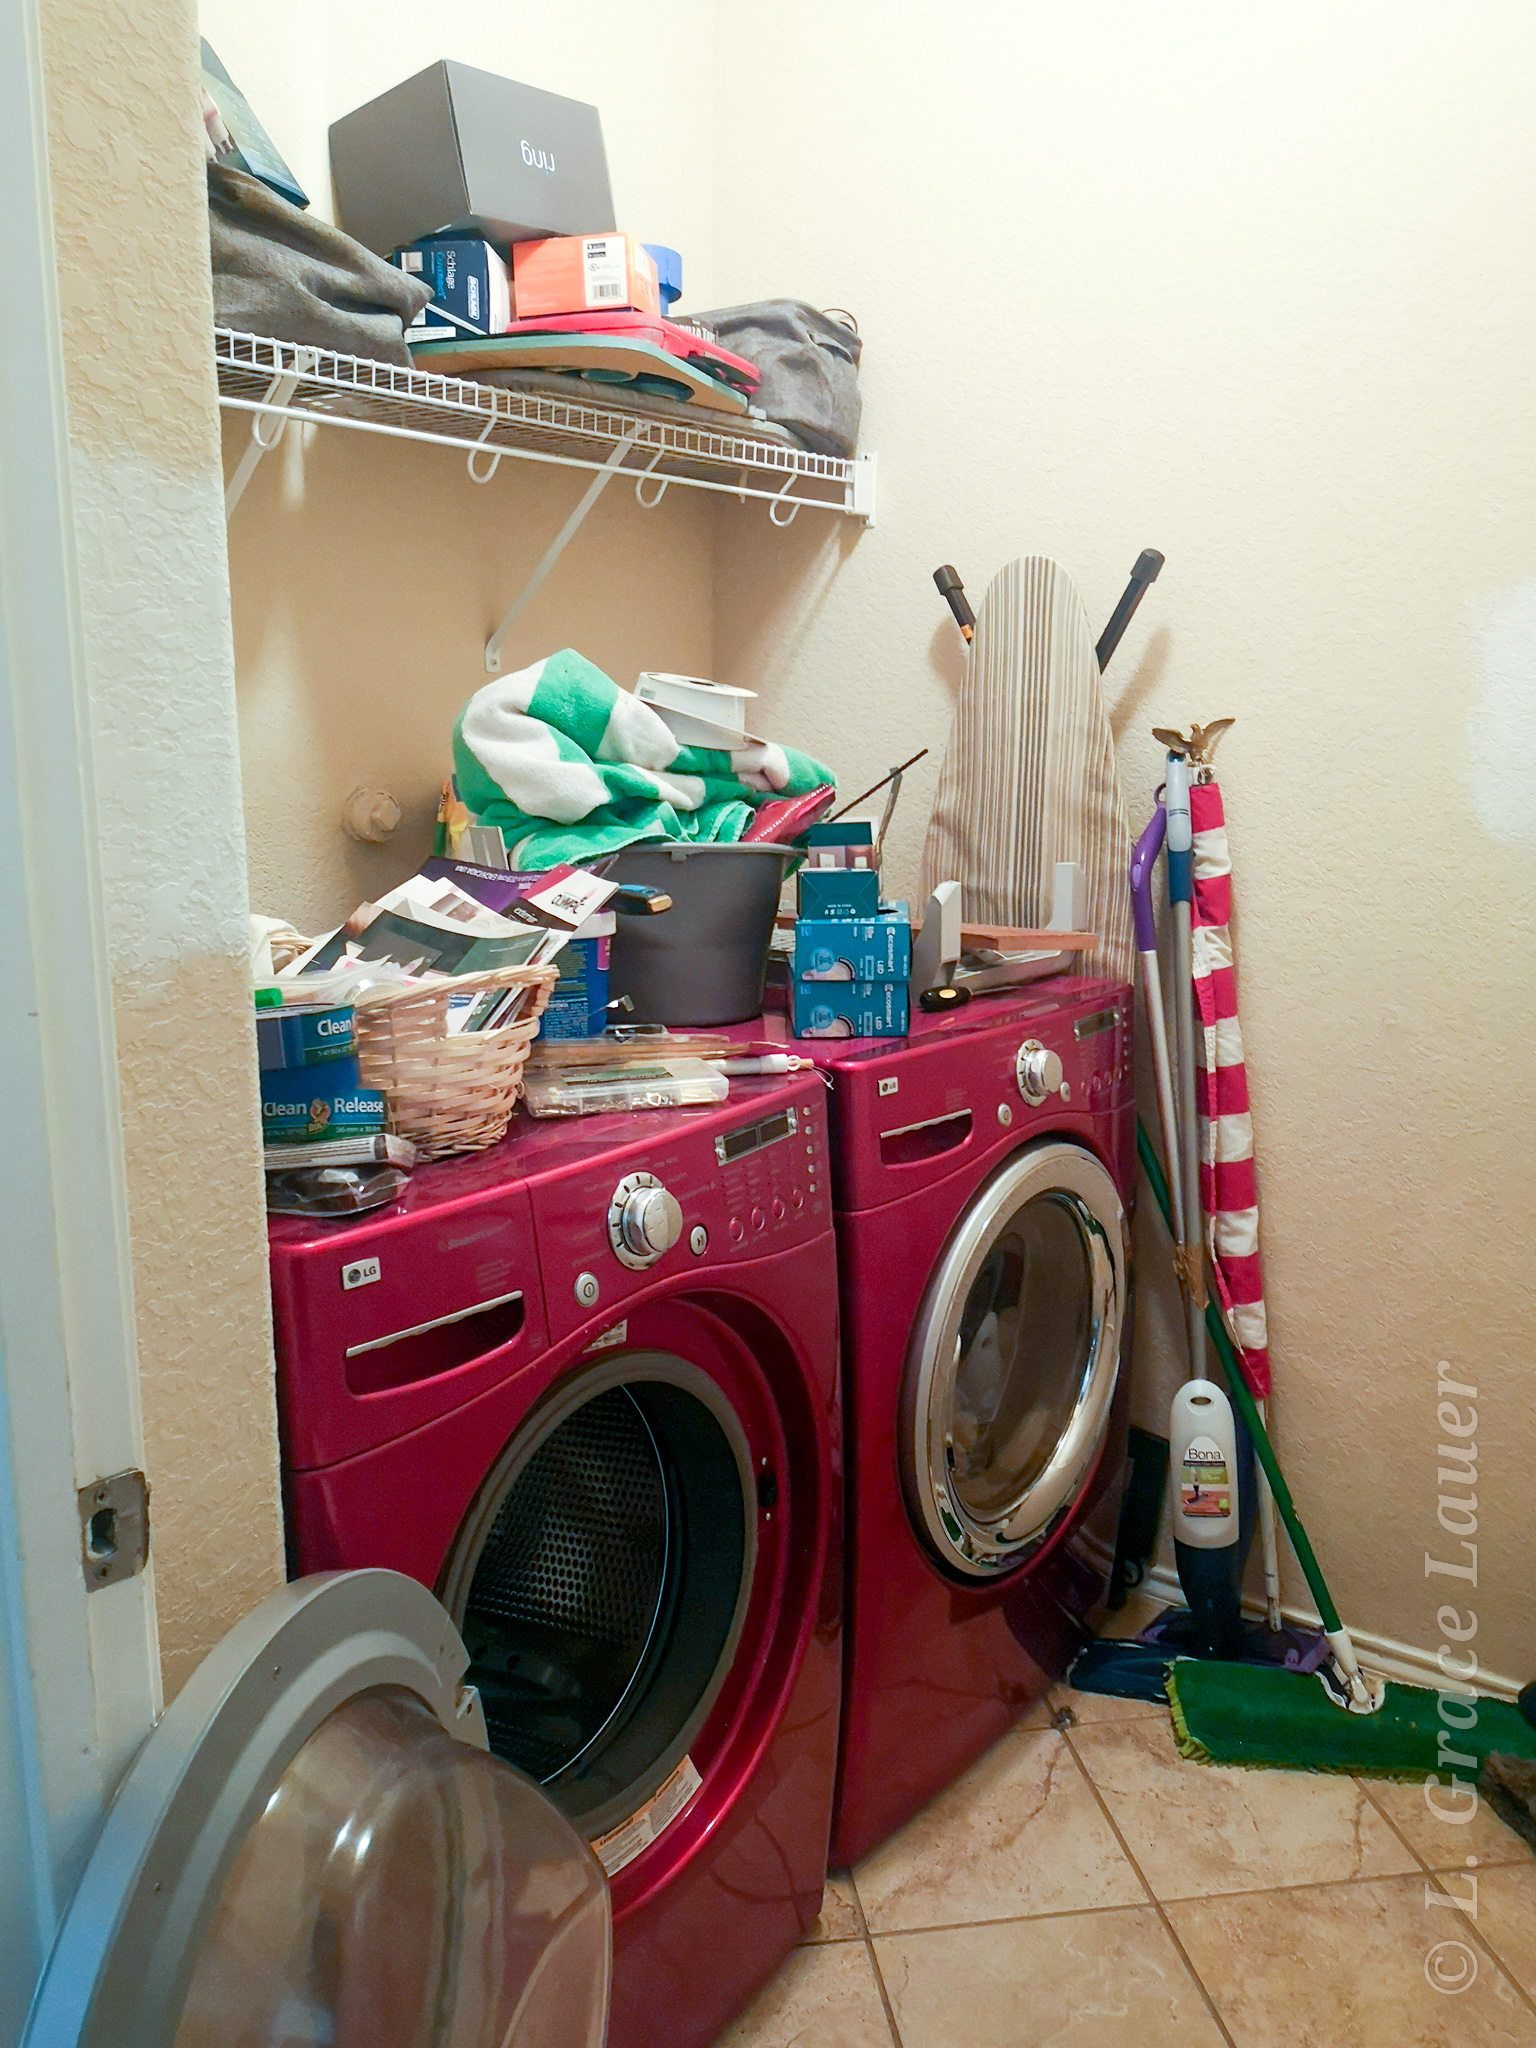
Yup, we are back stateside and we have our new home and we are ready to decorate, refinish and reimagine the home we have purchased. I would like to take you along this journey with us as I begin in our laundry room… our messy, catch all because we just moved in and these items didn’t have homes yet… did I mention messy, laundry room. ( I can’t believe I am showing this before photo) Stick with me and you will see exactly how pretty this laundry room can be with an amazing upcycled laundry folding countertop.
Why the Laundry Room first?
What? You may say… Why in the heck do you want to start in the Laundry Room? Well a couple of reasons. This particular laundry room is a walk through between the garage and the entry hallway. I have to say mentally, I hate coming home from my day of running the kids around or completing errands like grocery shopping and opening the door to my home (through the garage) and walking into a space that has little organization, reminds me of the main chore I hate to do and just flat out makes me cringe. If my entryway is to be “oh so beautiful” for people to see when they walk in, lets be honest I don’t get many visitors with COVID and us being new to town, why should I not want our family entrance to be just as beautiful and important as we use it daily.
So if your laundry room is like mine and connects the garage to the main home I encourage you to think twice about not decorating it, it has made a world of difference in how we feel when we come home and in my loathing attitude towards this chore. Second, it is always the very last room if it gets done at all. I pine over stunning laundry rooms and walk through mud rooms on Pinterest all the time. I deserve to have a space where cleaning is beautiful. Working with my family on different parts of this space has helped us get closer, helped me teach my kids techniques and skills and helped me jump back into designing, refinishing and upcycling now that we have the space. I am so excited to share with you all!
Frist up! Clean up!
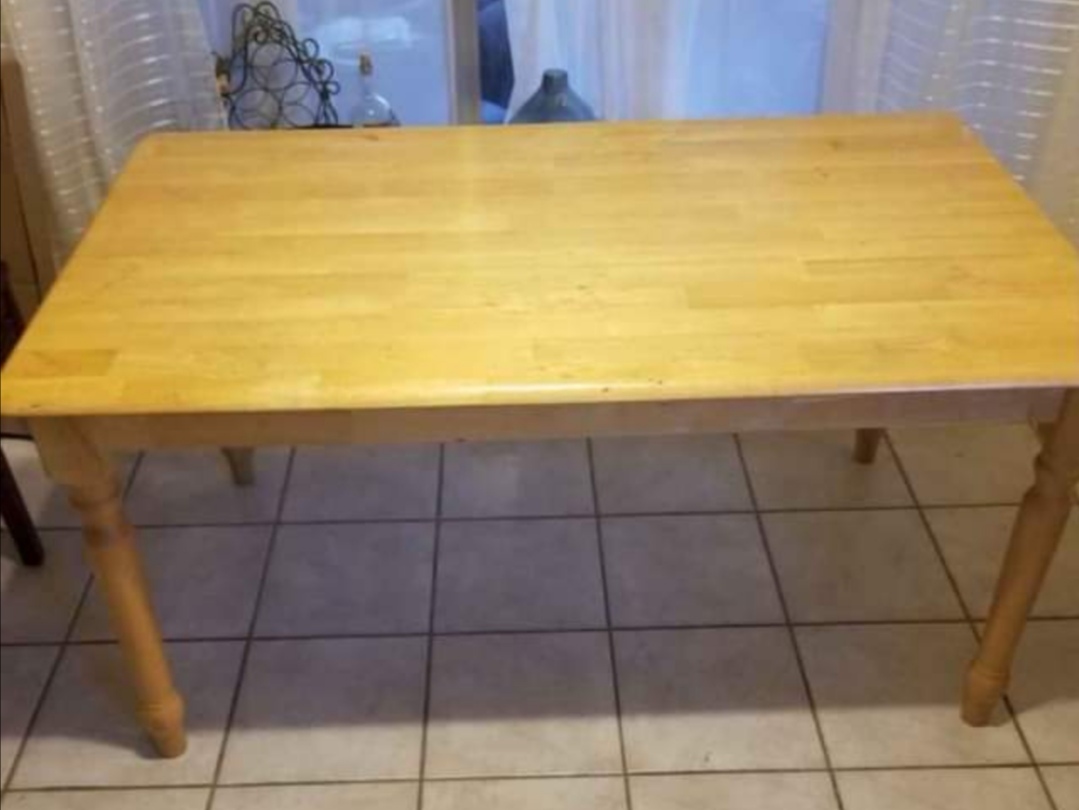
This was quick and easy… no need to share much more then that. Cleaned up the room and cleaned up this table I found on FB Marketplace and I negotiated it to $20! Wood is so pricey these days. I could get enough wood out of this table to make the upcycled laundry folding countertop and shelf.
Sanding & Cutting
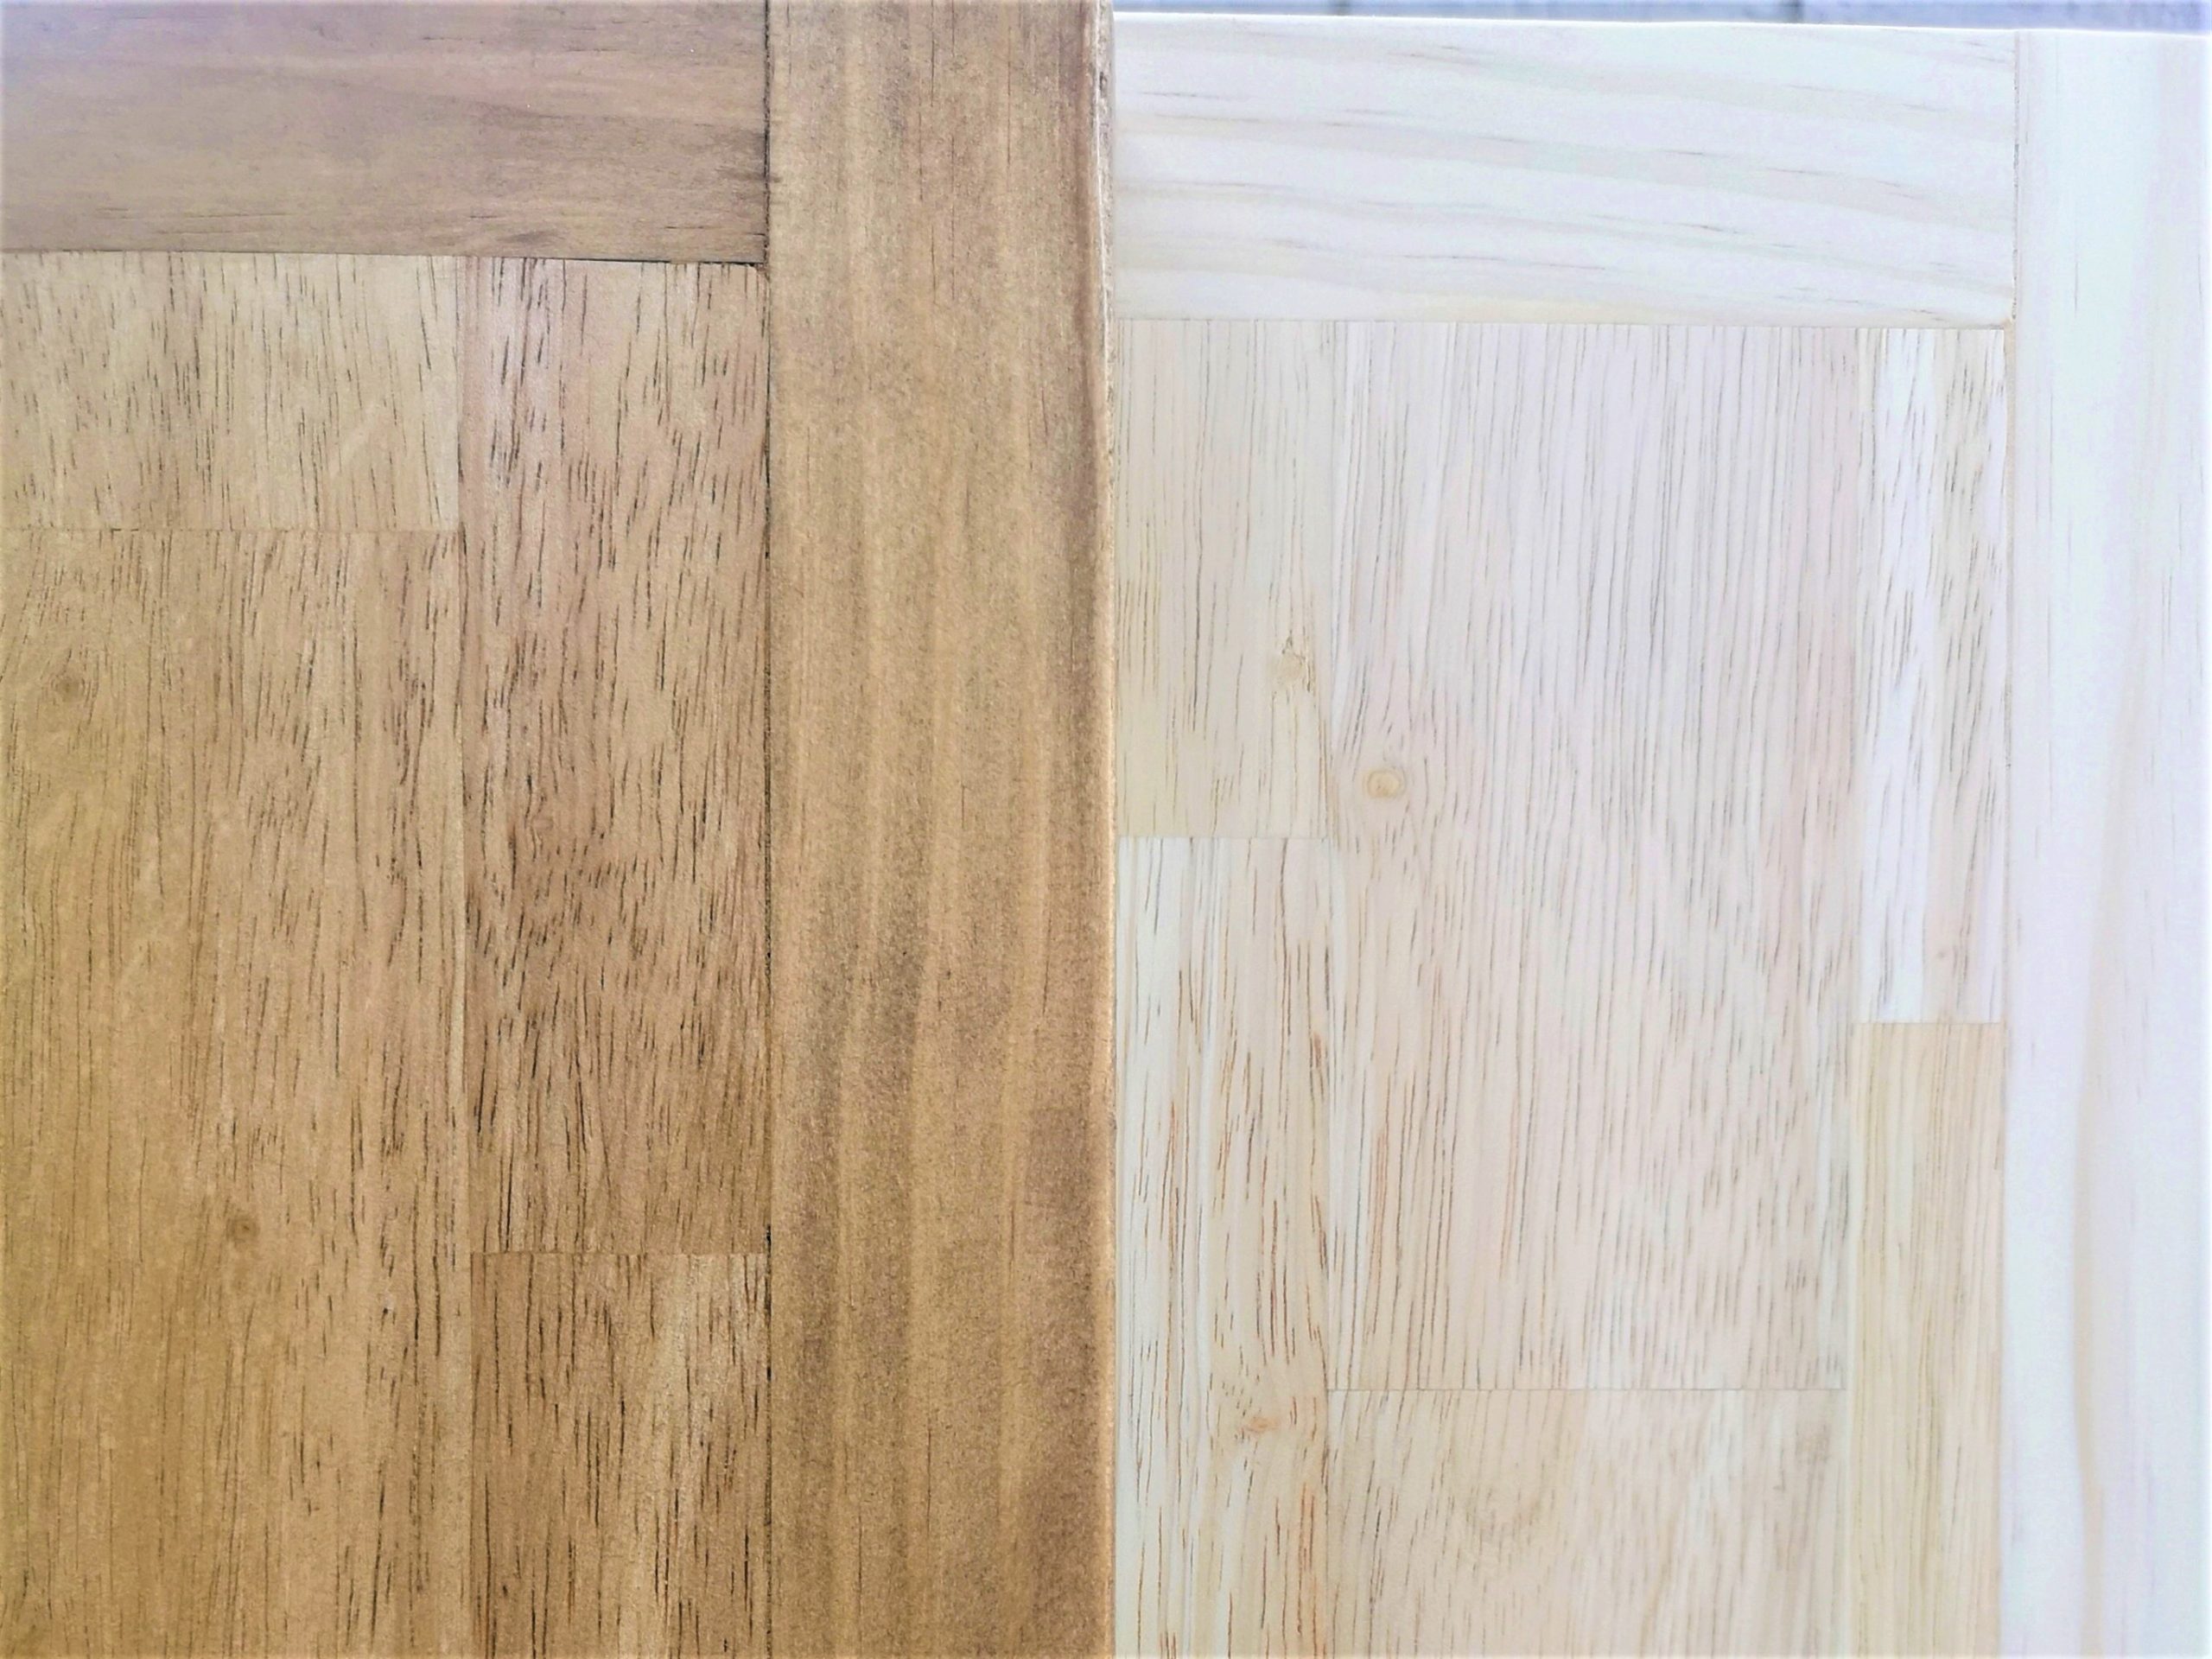
This purchased saved me over $300 in butcher block wood countertops. Crazy, right? We completely disassembled this table, sanded down the table top making sure to get out all the scratches, stains and that gross yellowed poly finish off. I used 80 grit paper then finished with a 120 grit.
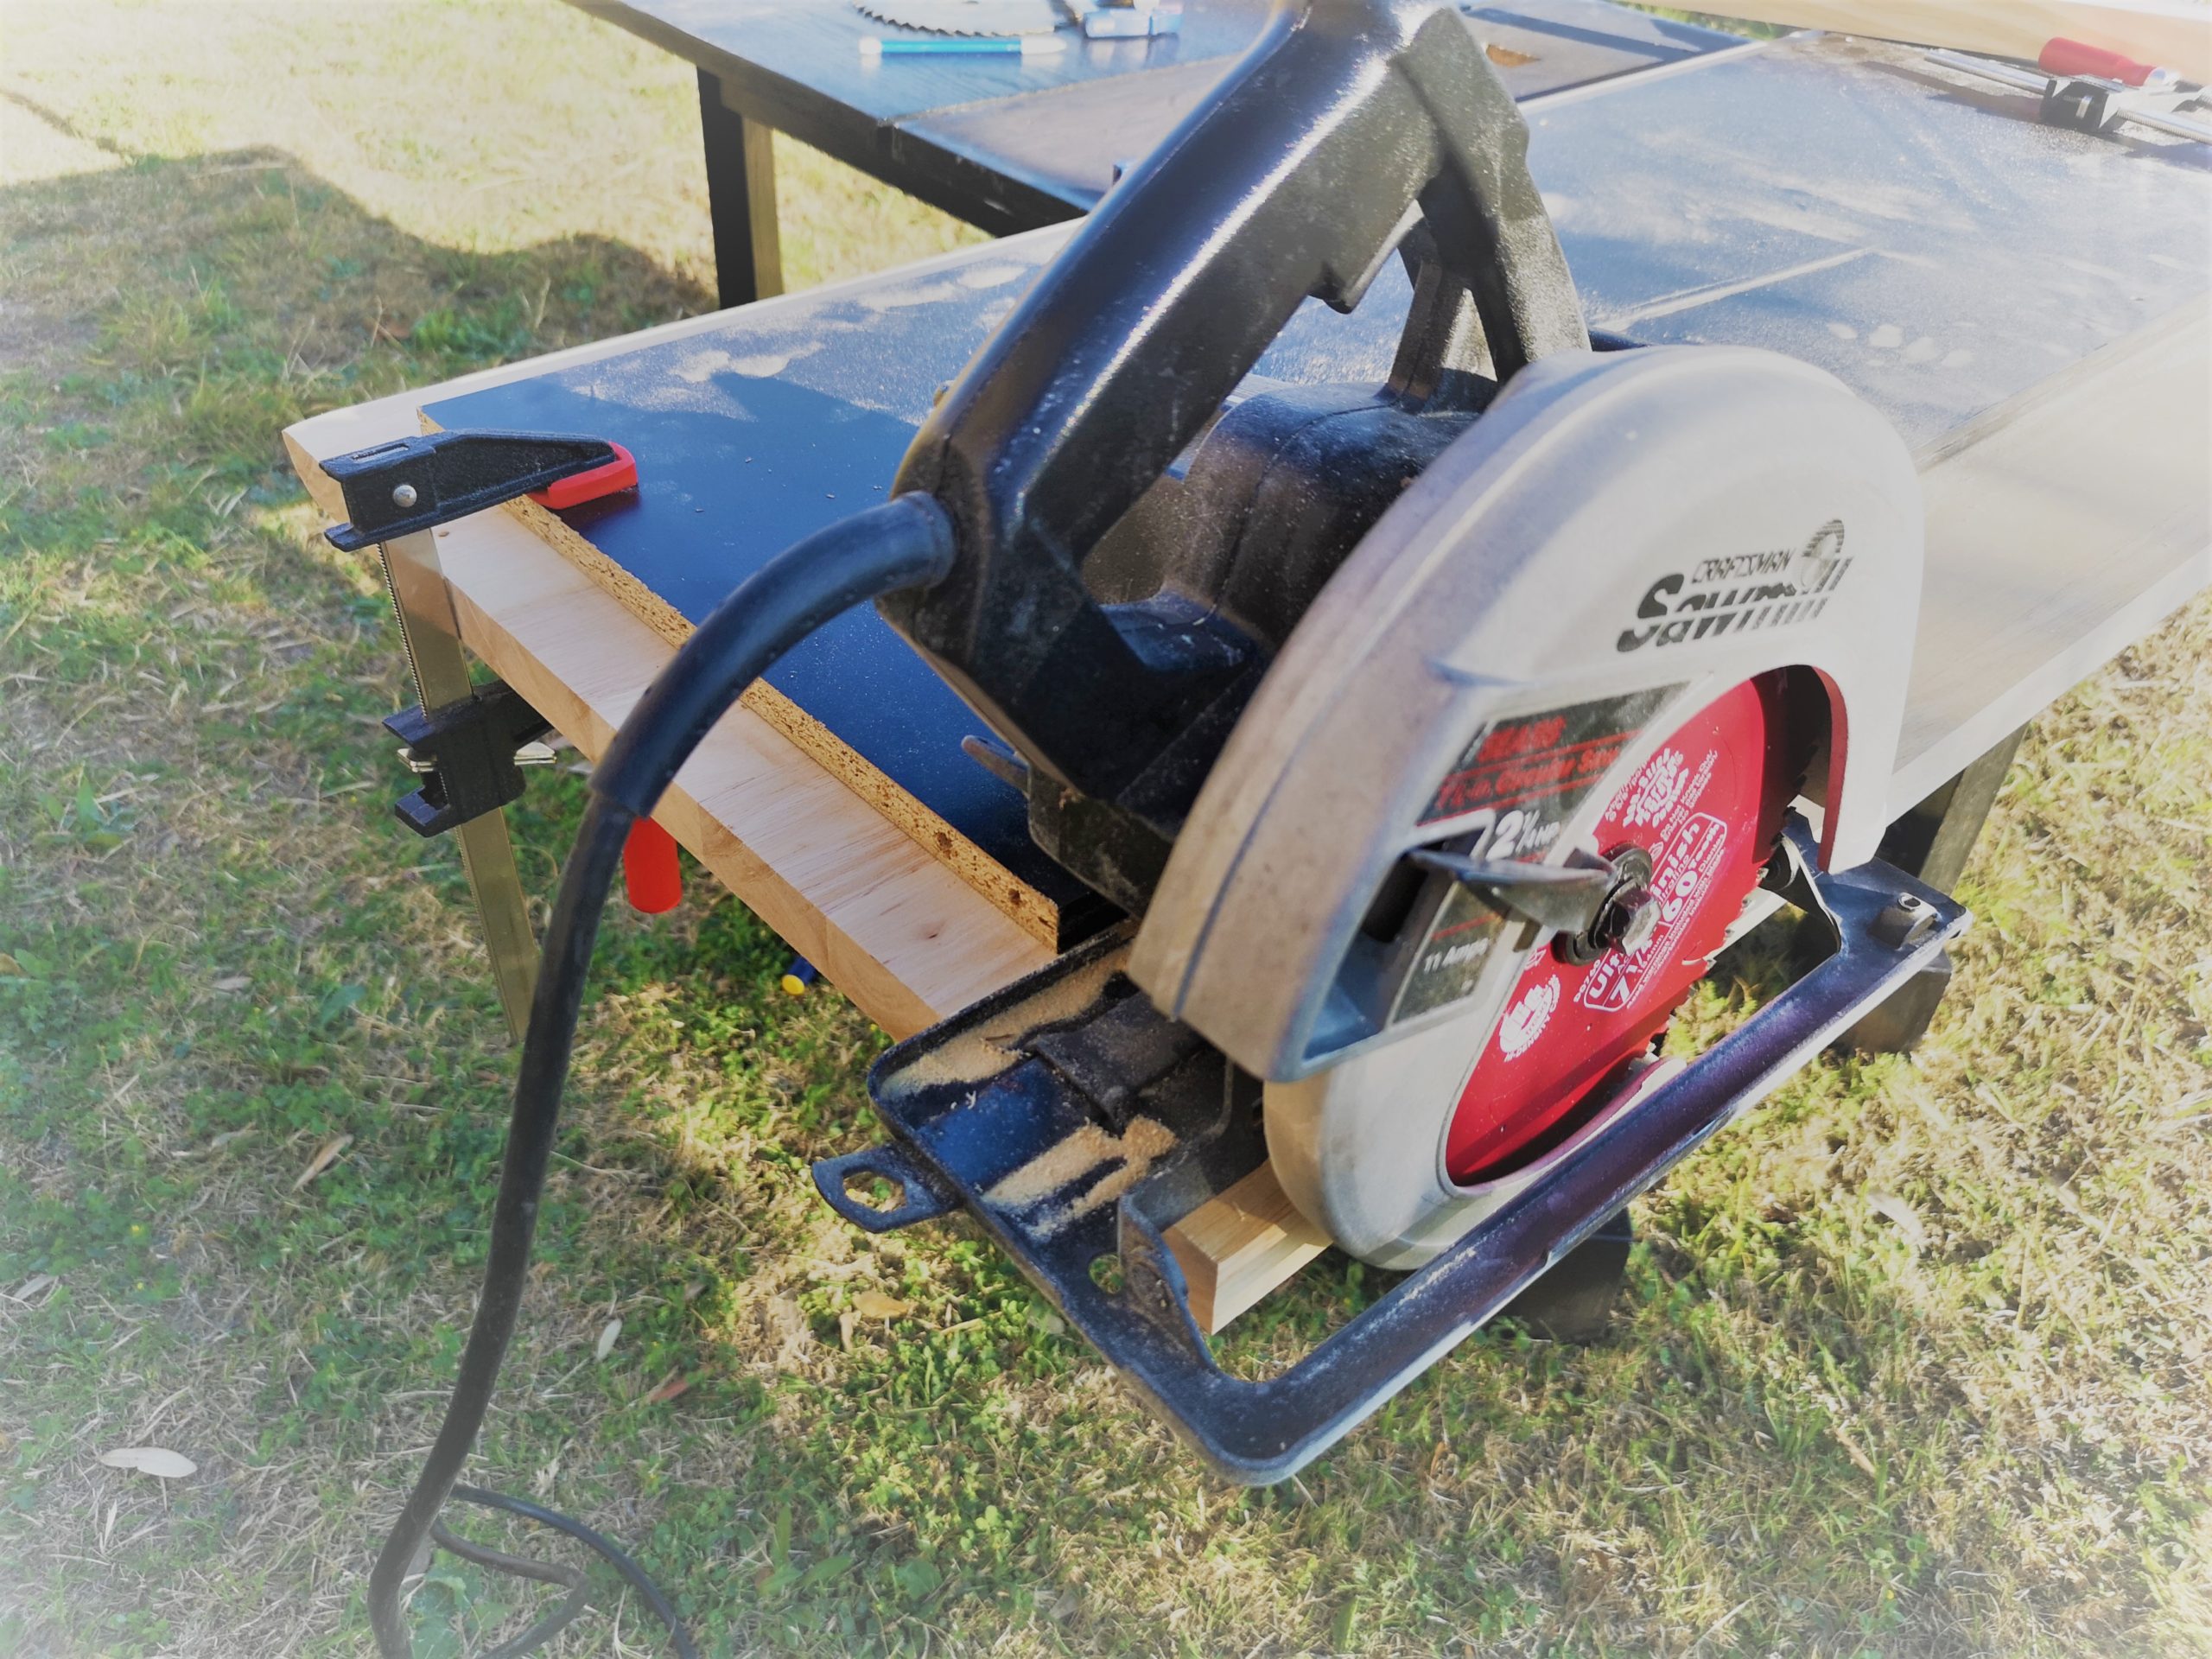
[embedyt] https://www.youtube.com/watch?v=x_xSHNyUjlM[/embedyt]From here we cut off the bull nosed edge along three sides, the two short and one long. The 4th side was left as is as per my design it was going to be hidden under the back of the shelf. The table top was then cut length wise to create a long shelf top that was 11″ deep and an upcycled laundry folding countertop that was deep enough to go under that shelf and still perfectly cover the top of my washer and dryer. I don’t have a table saw so I used this old Ikea shelf as a guide for my circular saw. I measured and clamped it in place making sure to add 4″ for my saw blade guide from the line where the saw blade cuts to the edge of the guide.
This also allowed me to squeeze one more inch of depth for the upcycled laundry folding countertop. We saved every piece we took off this table even the bull nosed edge incase we needed some what looked like quarter inch round trim and the screws. Between this project and another one around the house we used up all the screws, and most of the wood including the table legs which went under my daughters Closet Loft Bed…. that project will be posted at a later time.
Assembly
Measuring the three sides, front, left and right, that were cut we added 2×2 wood to trim those edges. Then I cut the sides and added those with some Kreg Jig Pocket Hole Screws. I then measured the front for the full width, cut ad added that piece as well, not forgetting to glue the wood 2x2s to the table before attaching with the screws. I repeated this process for the shelf which made it very easy to do.

The trim was added to three sides of both the shelf and the upcycled laundry folding countertop. We puttied and sanded down all the joints till they were beautifully smooth and solid.
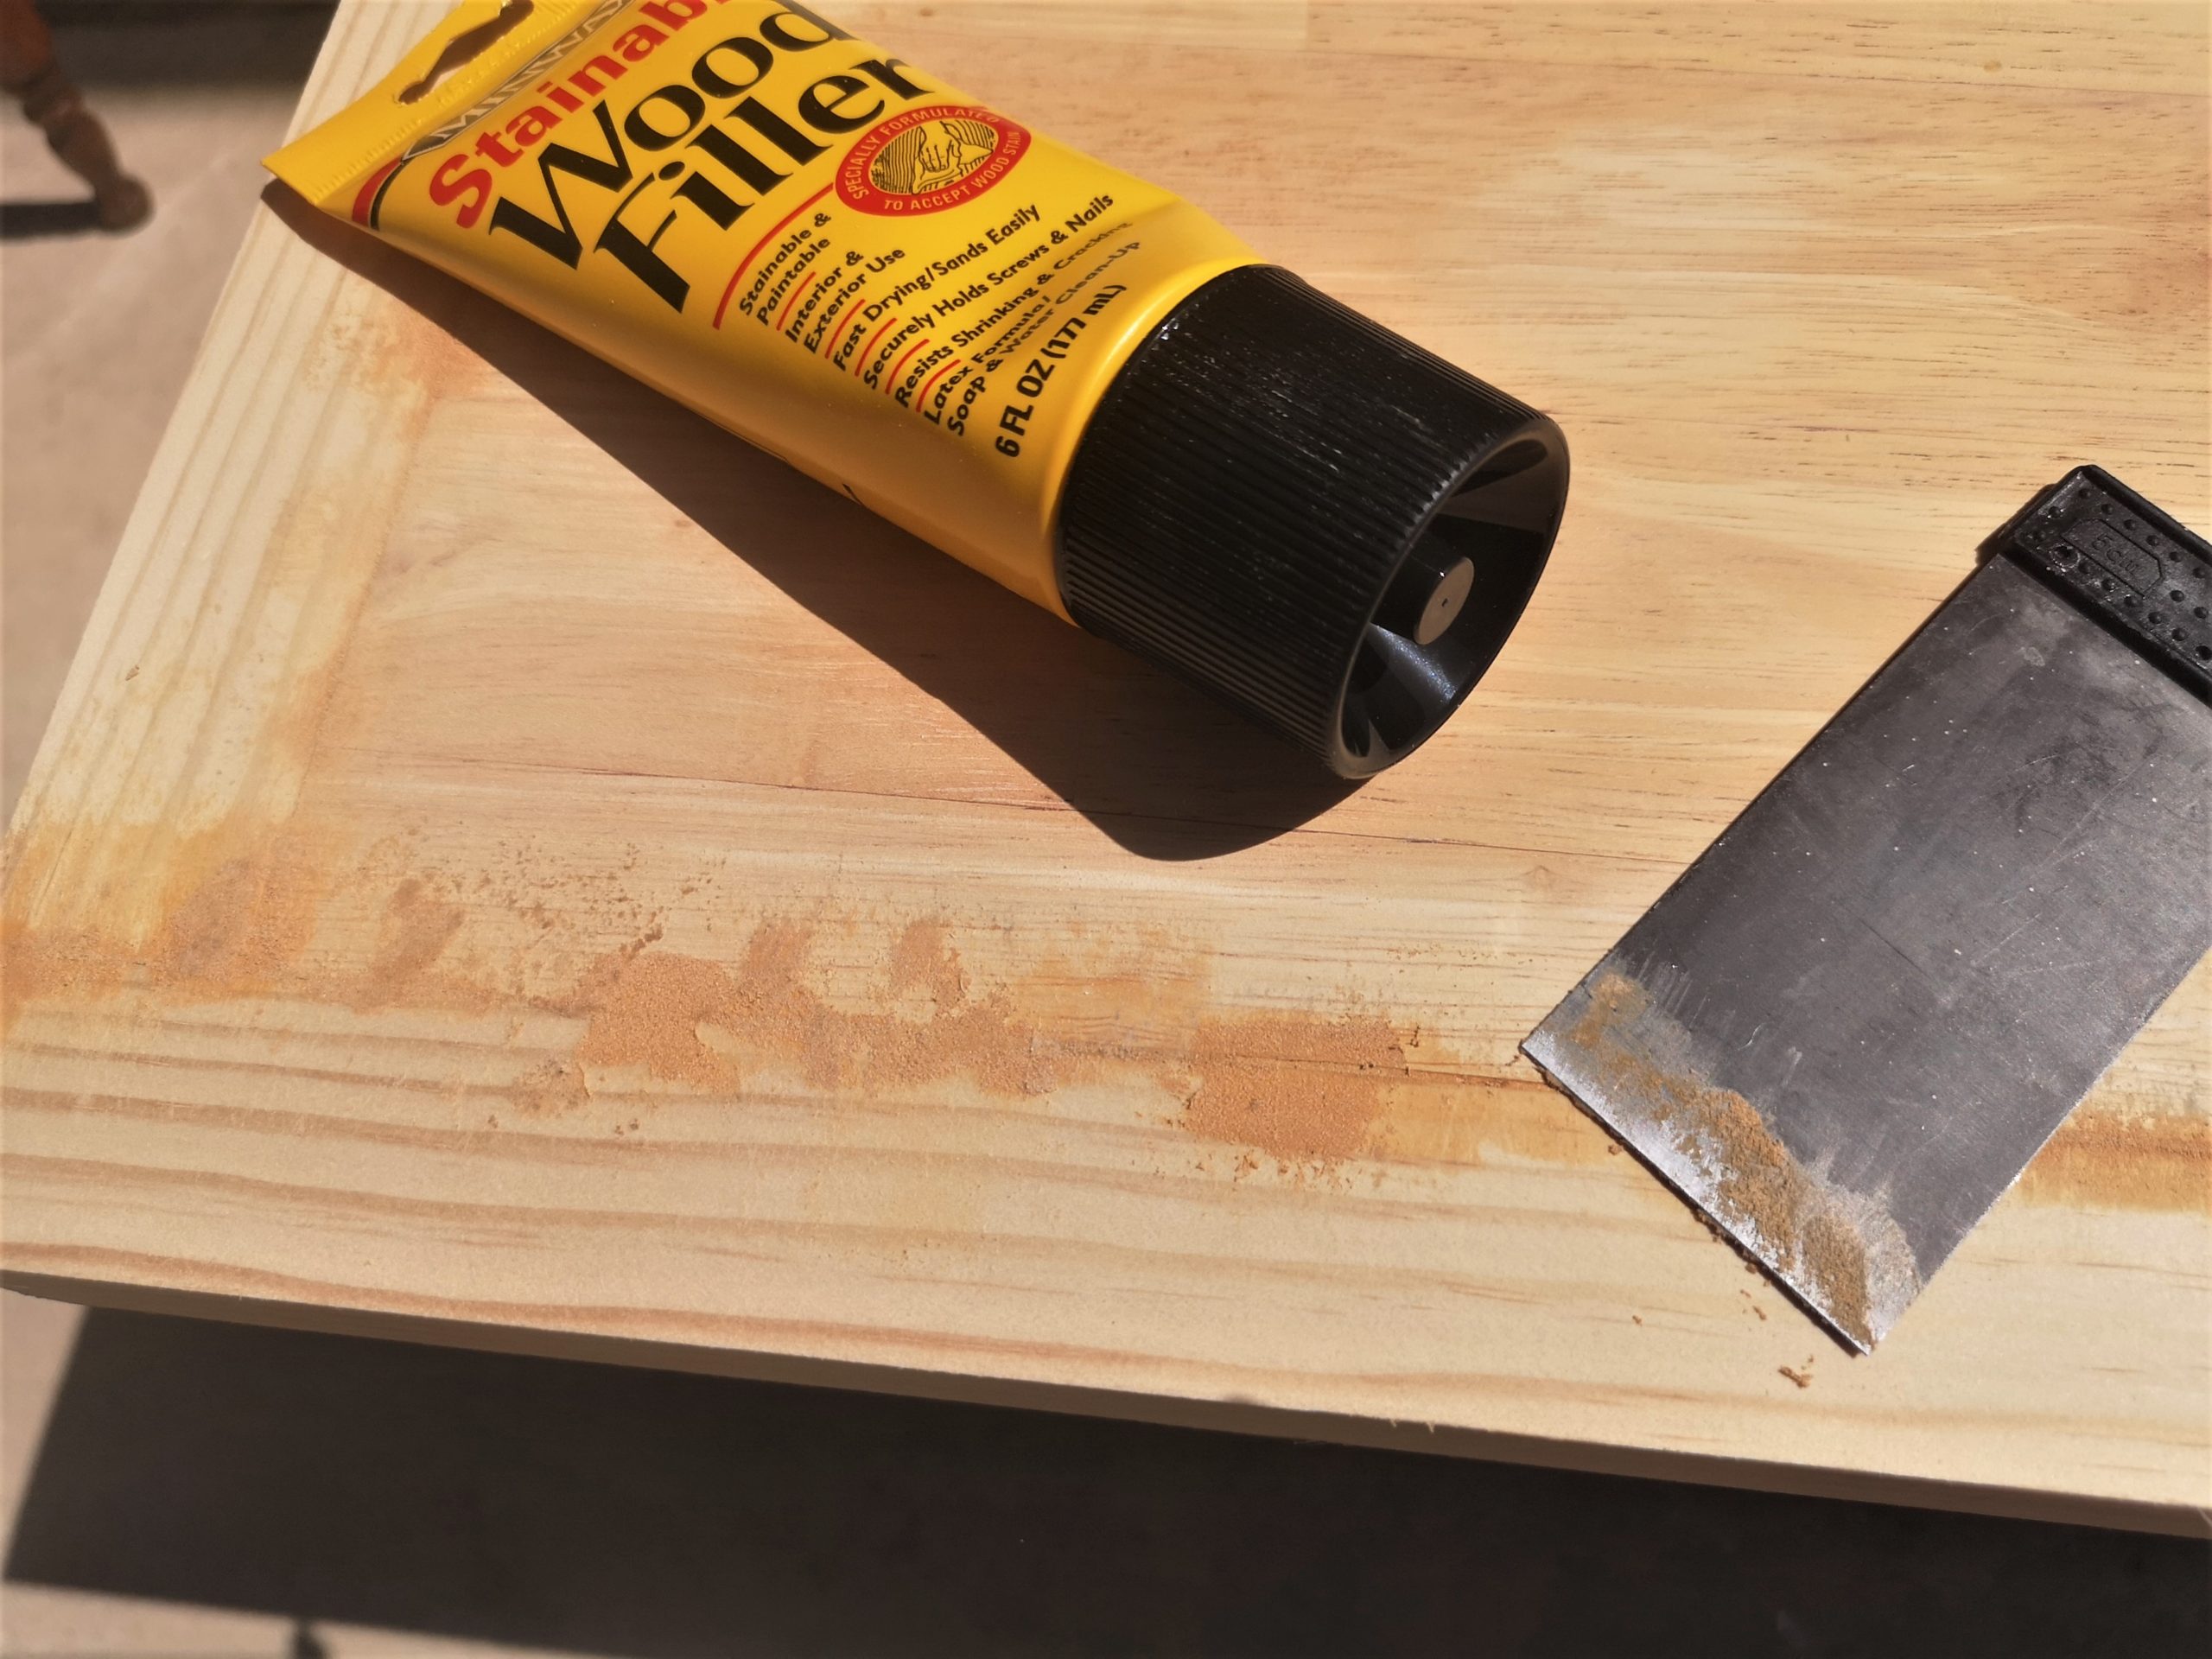
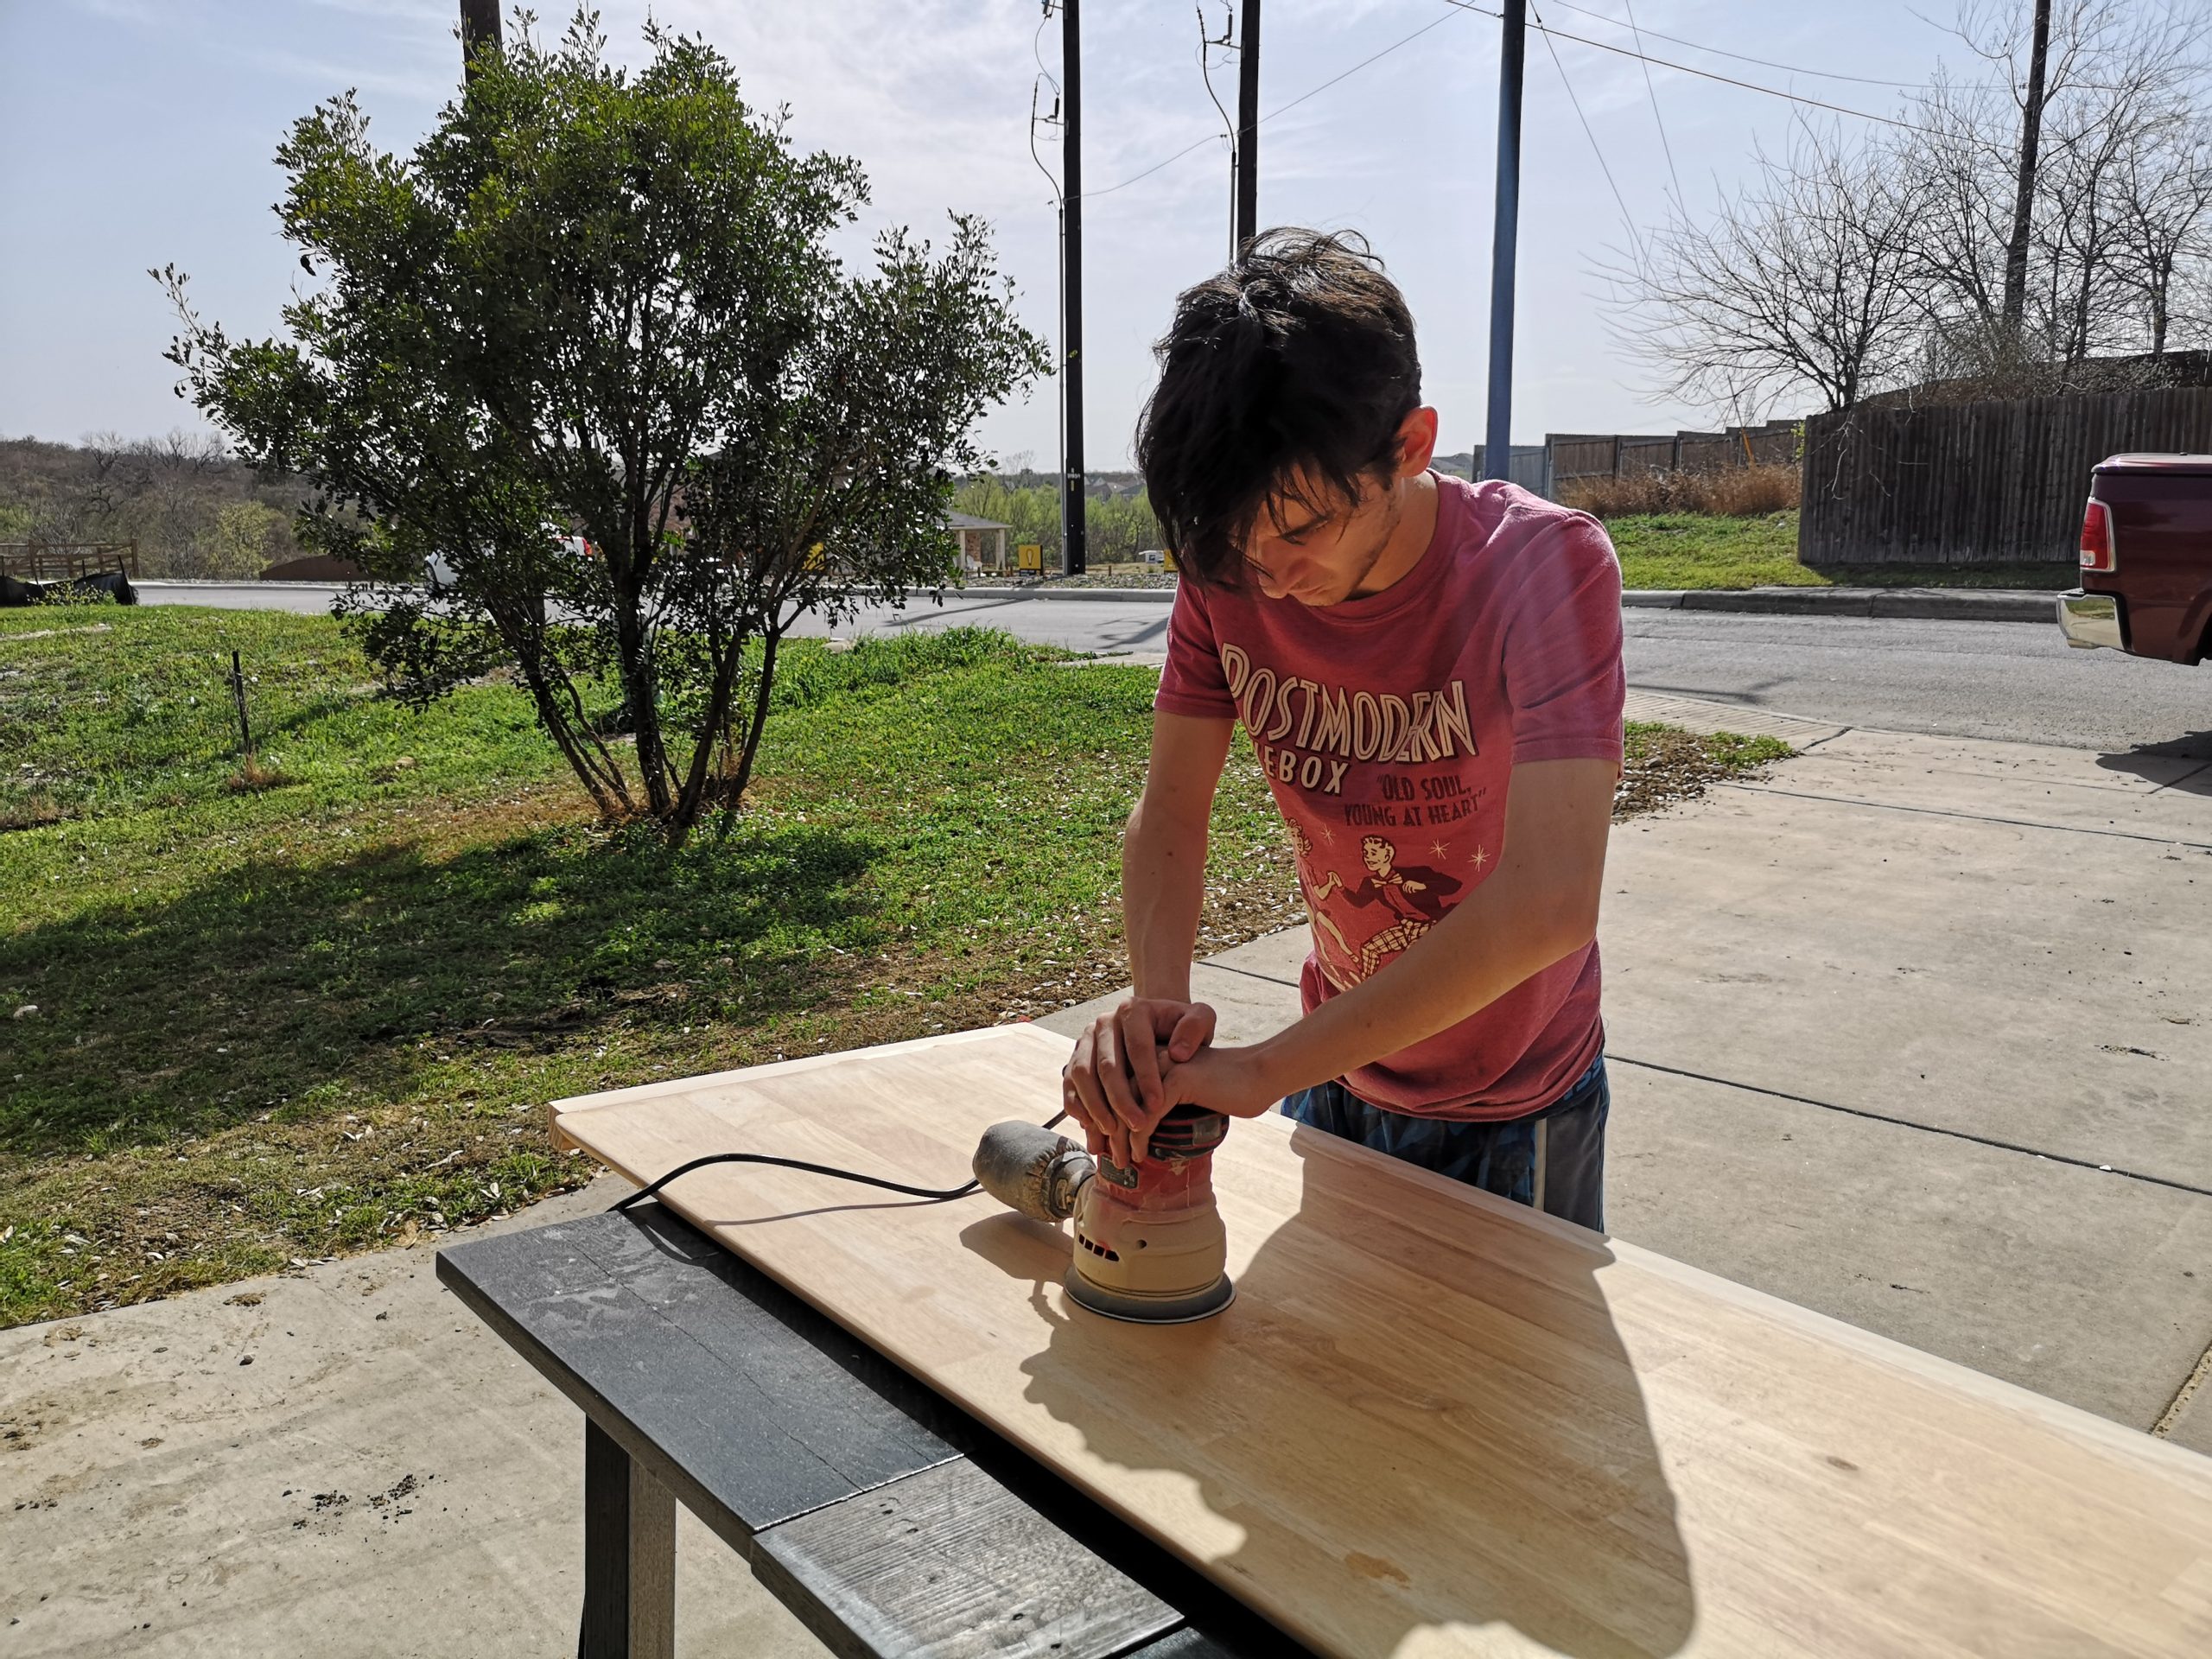
I specifically chose this image (above) corner so you could see the putty added in every tiny crack. Once this is stained it will be beautiful! I enlisted my so to assist with this task with a 220 grit paper and a quick overall sand.
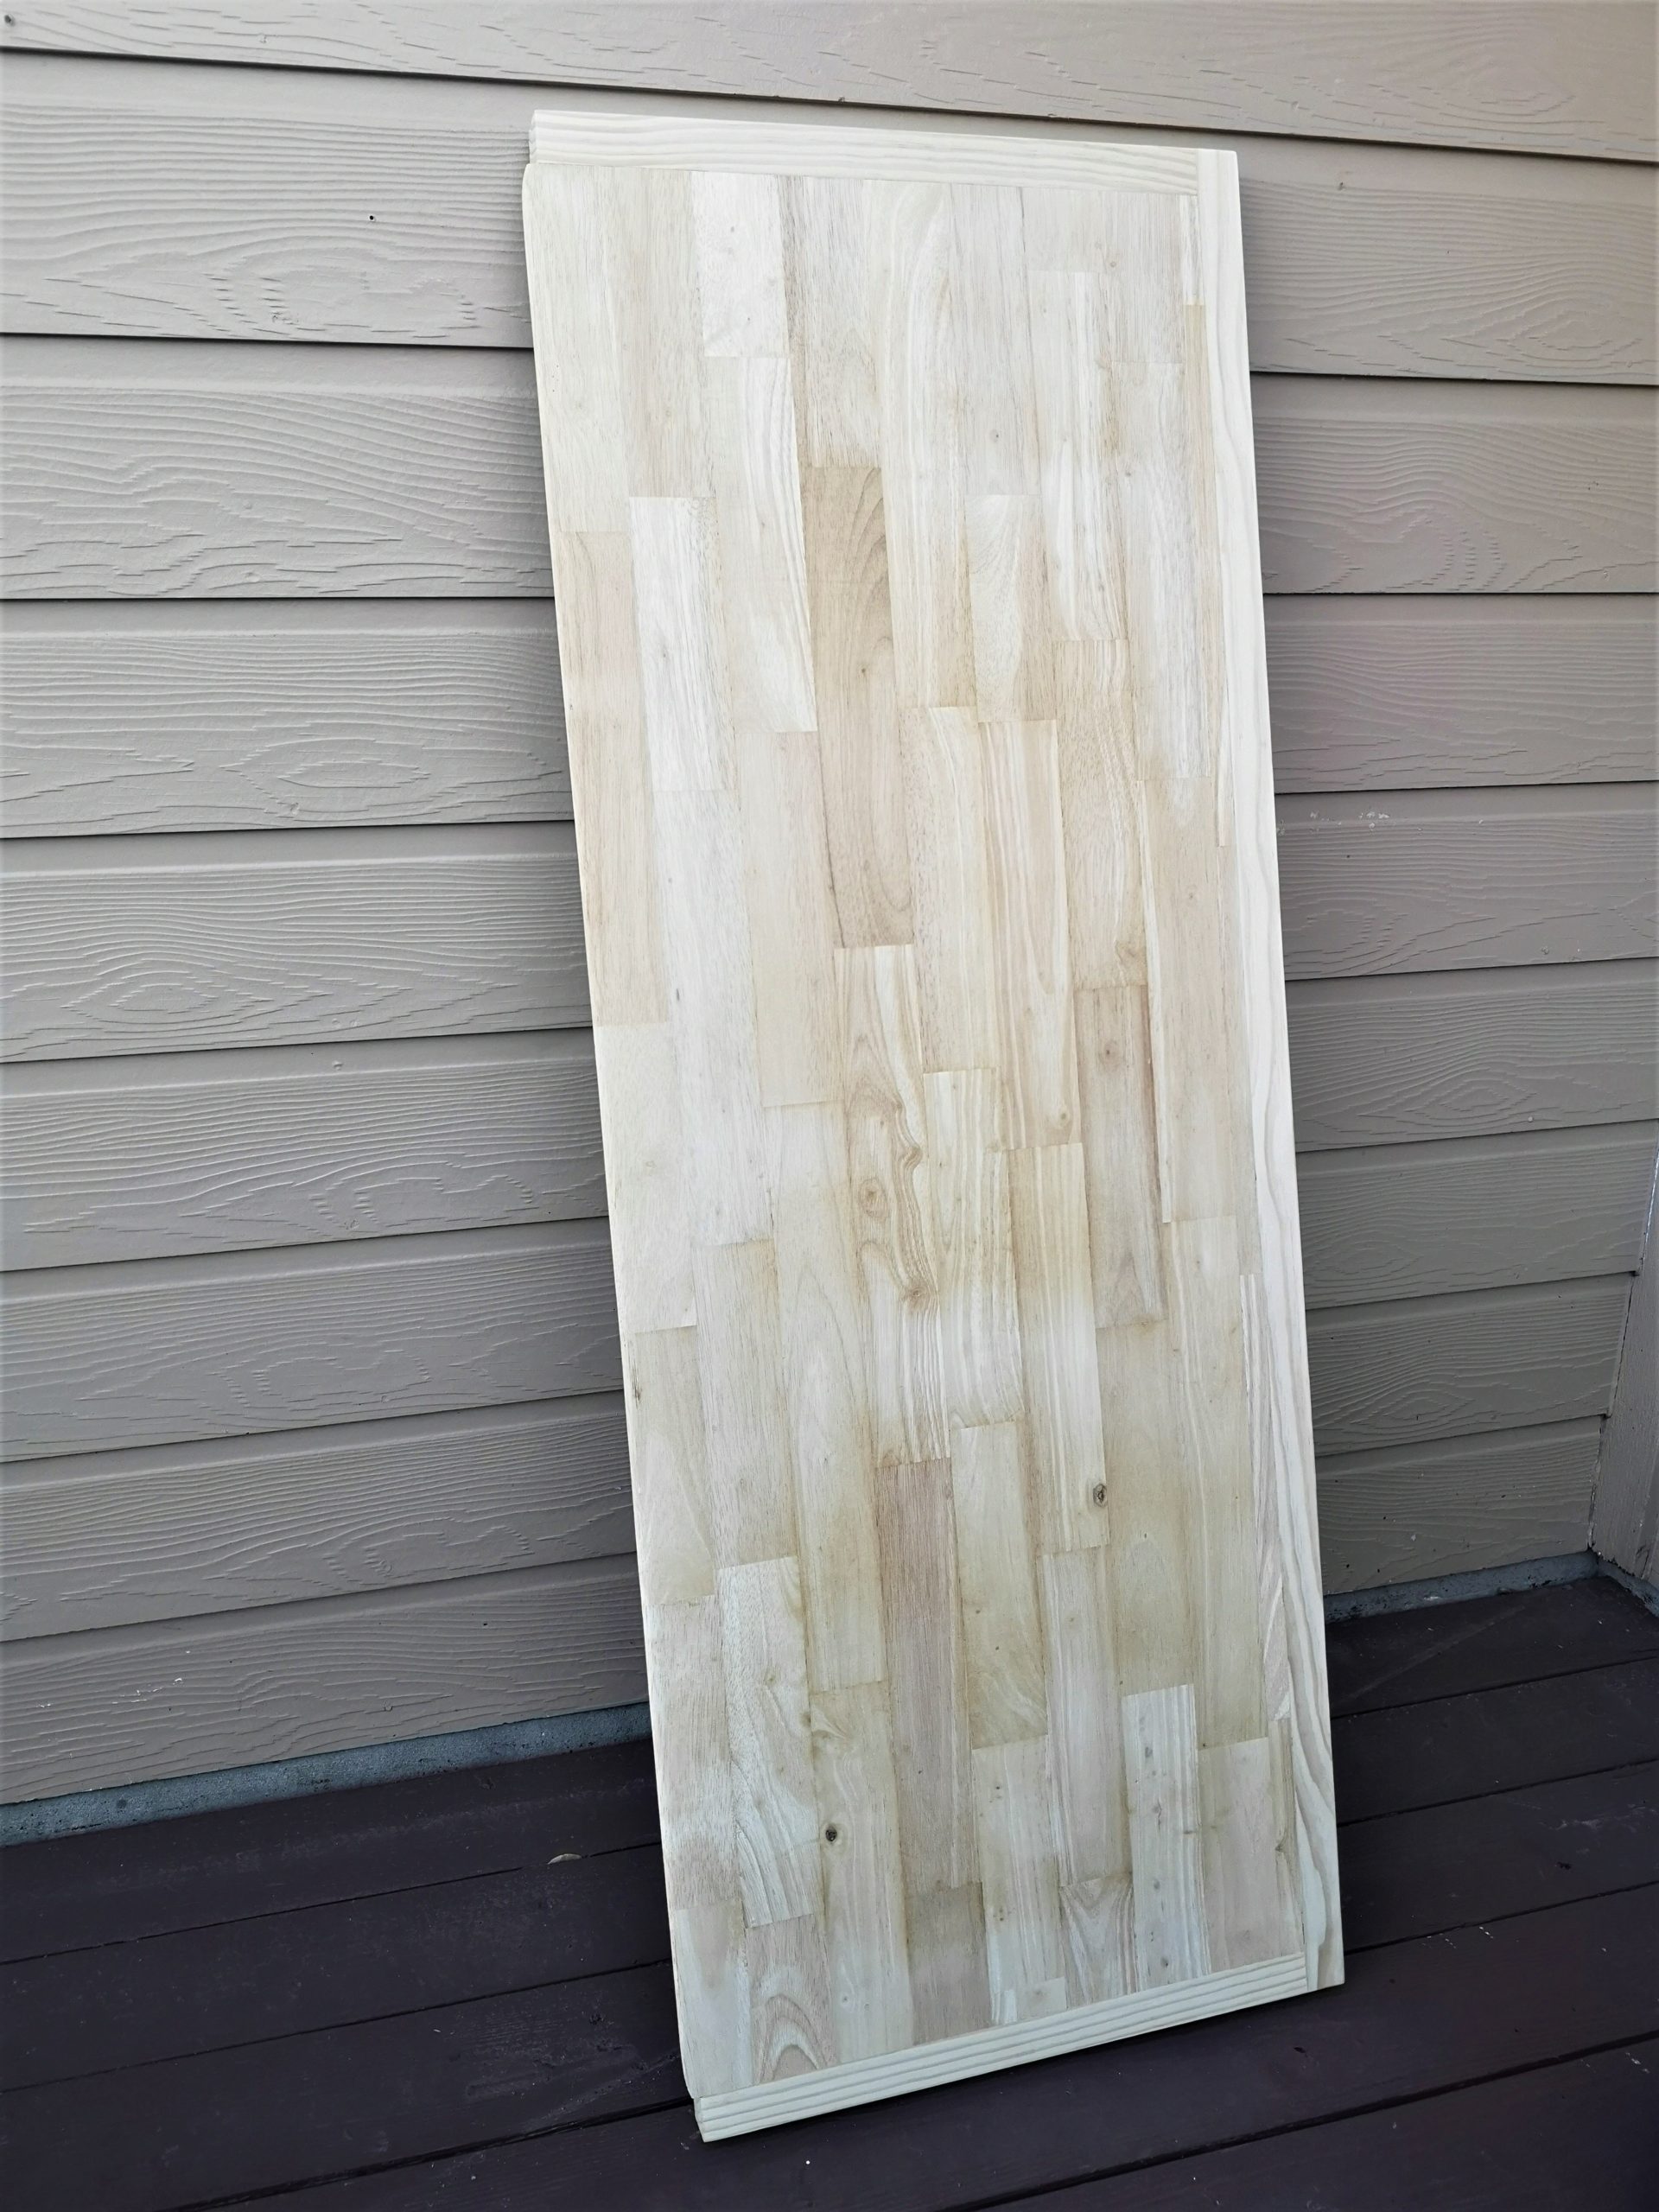
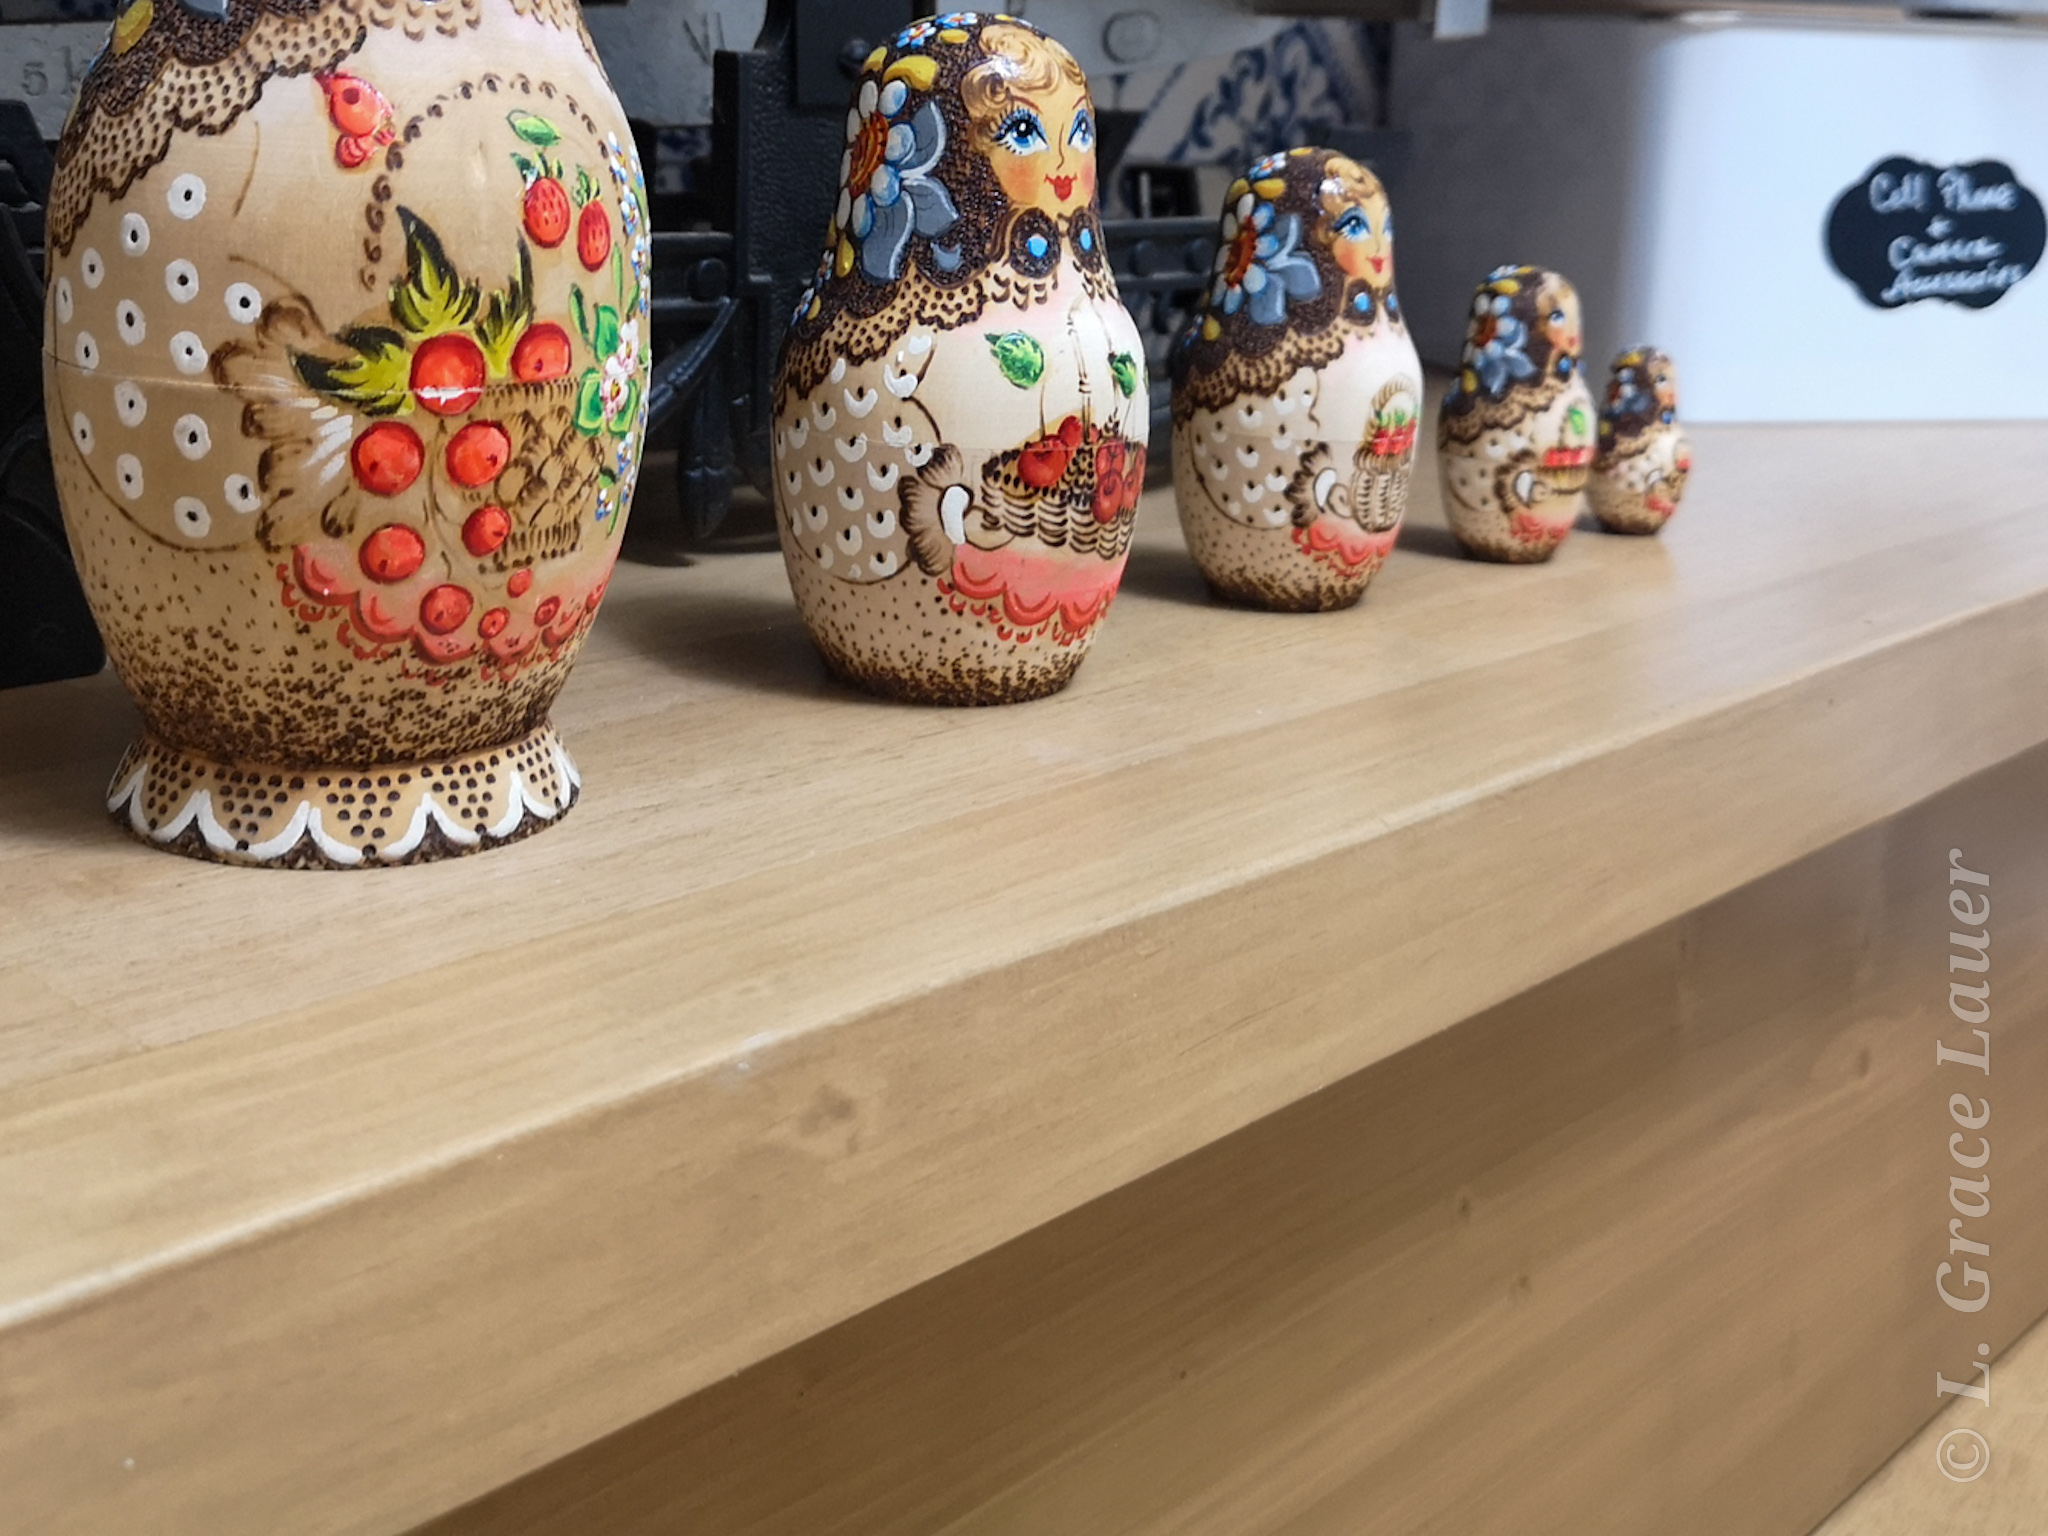
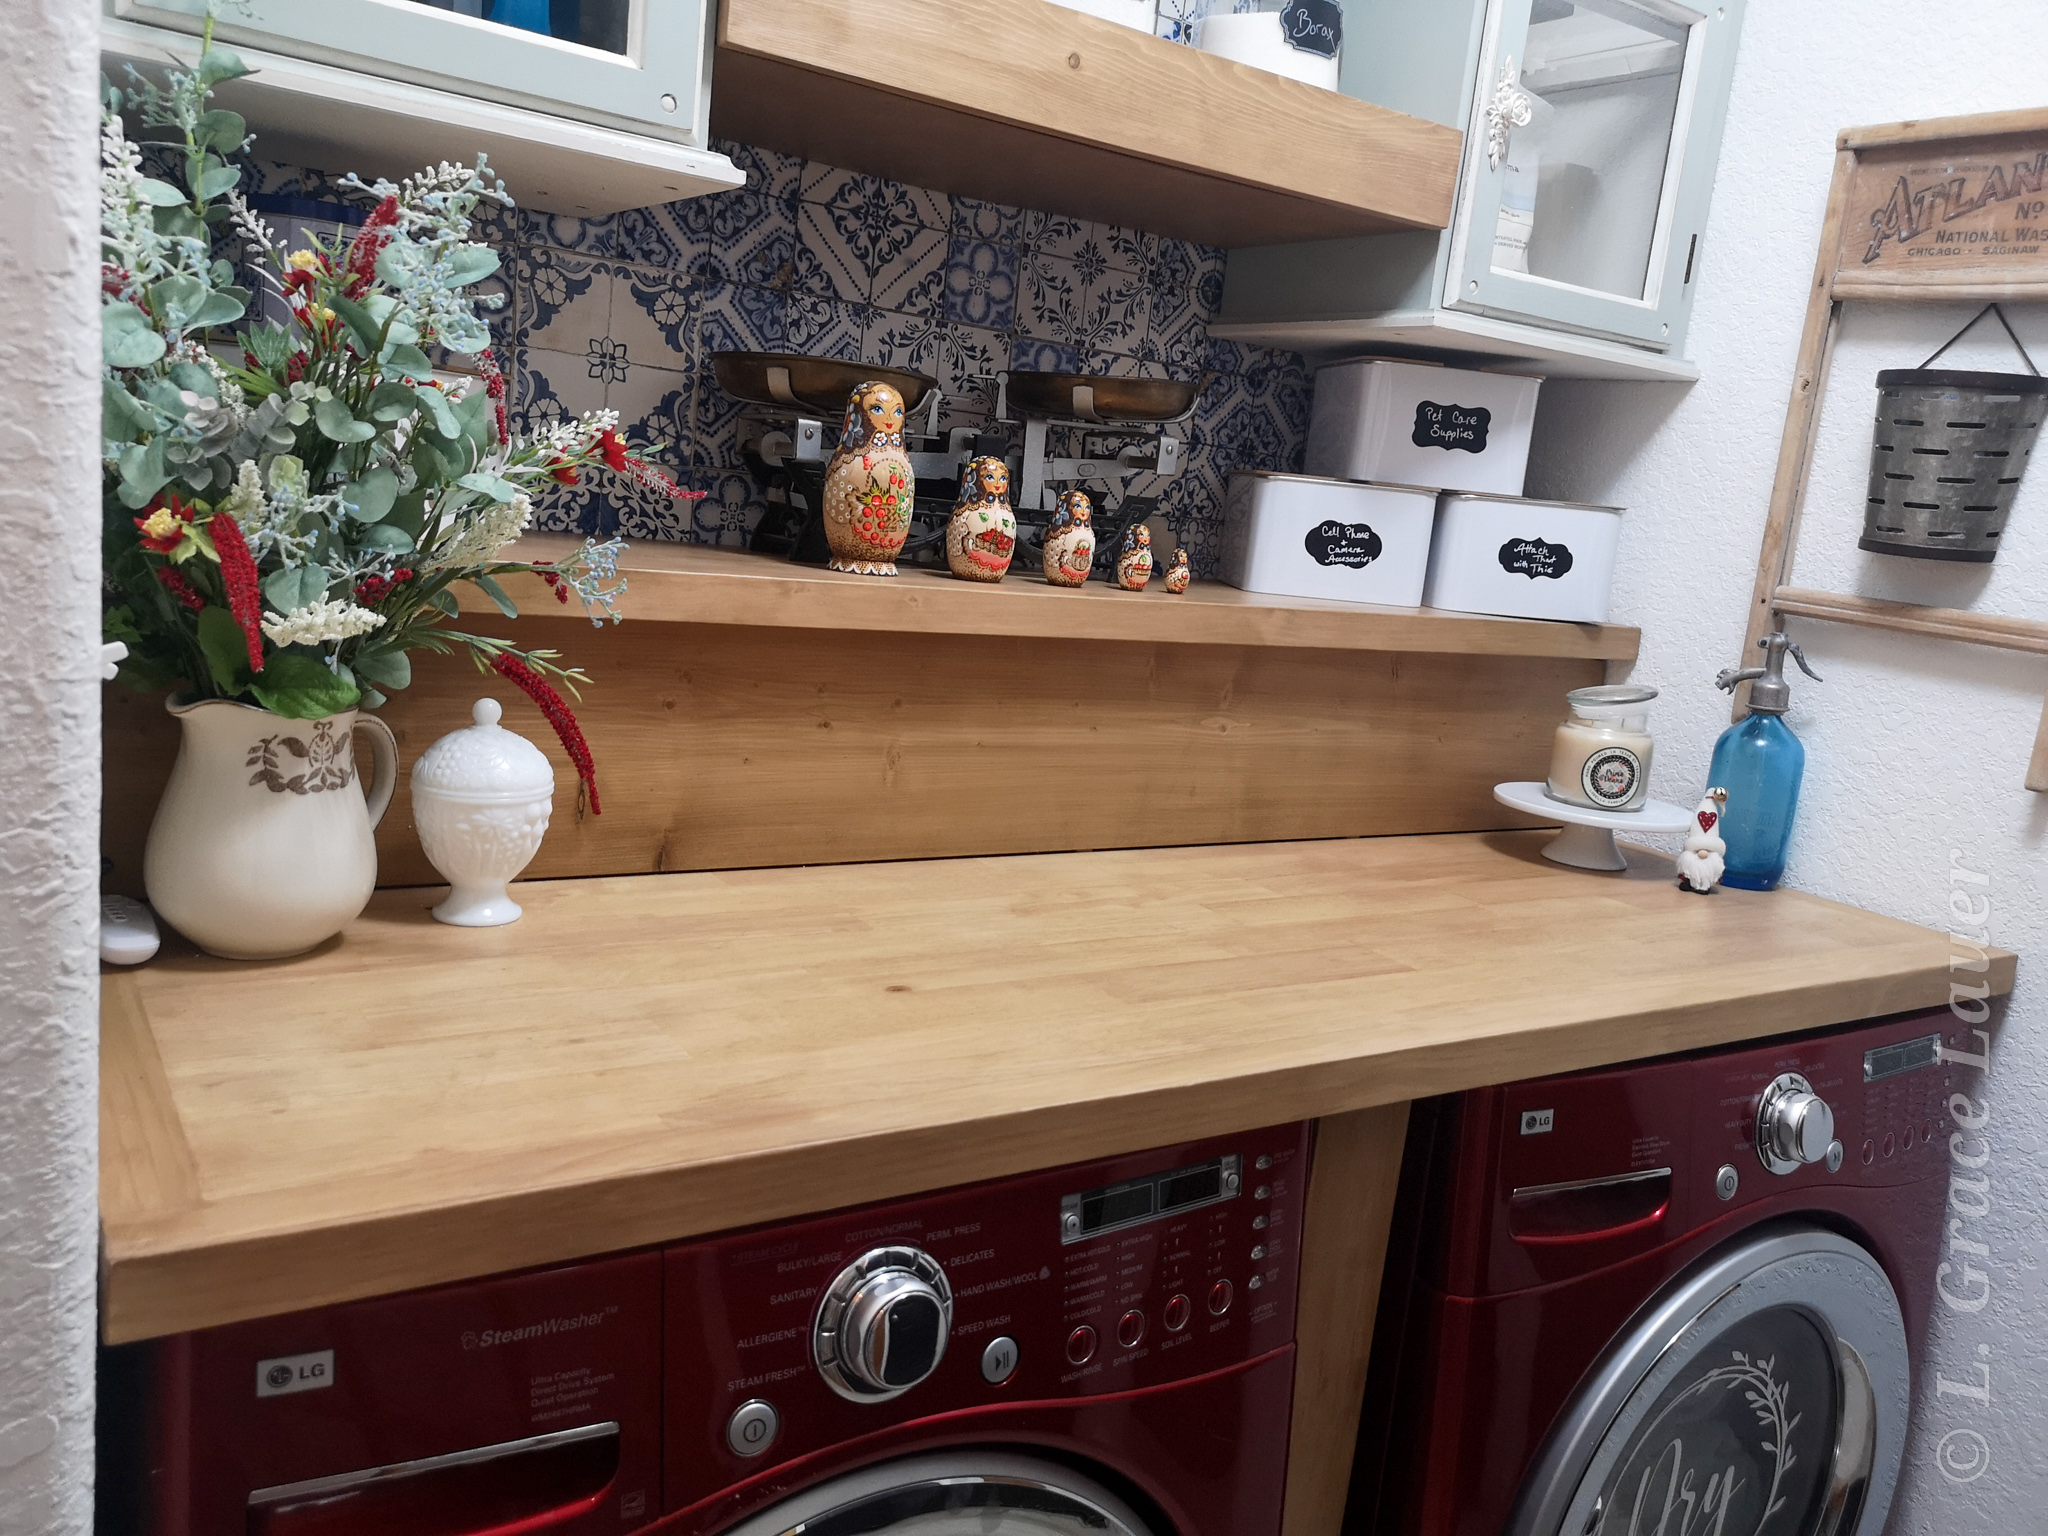
Here is the overall pic of the upcycled laundry folding countertop pre staining.
Staining & Sealing
I stained and sealed these pieces with Terra Bella Paints & Finishes. I tend to mix my own colors to create the look I want. This stain/sealer was created with a mix of their Sheer and Cocoa top coats, some shimmers and a splash of the Weathered Wood Stain.
Installation
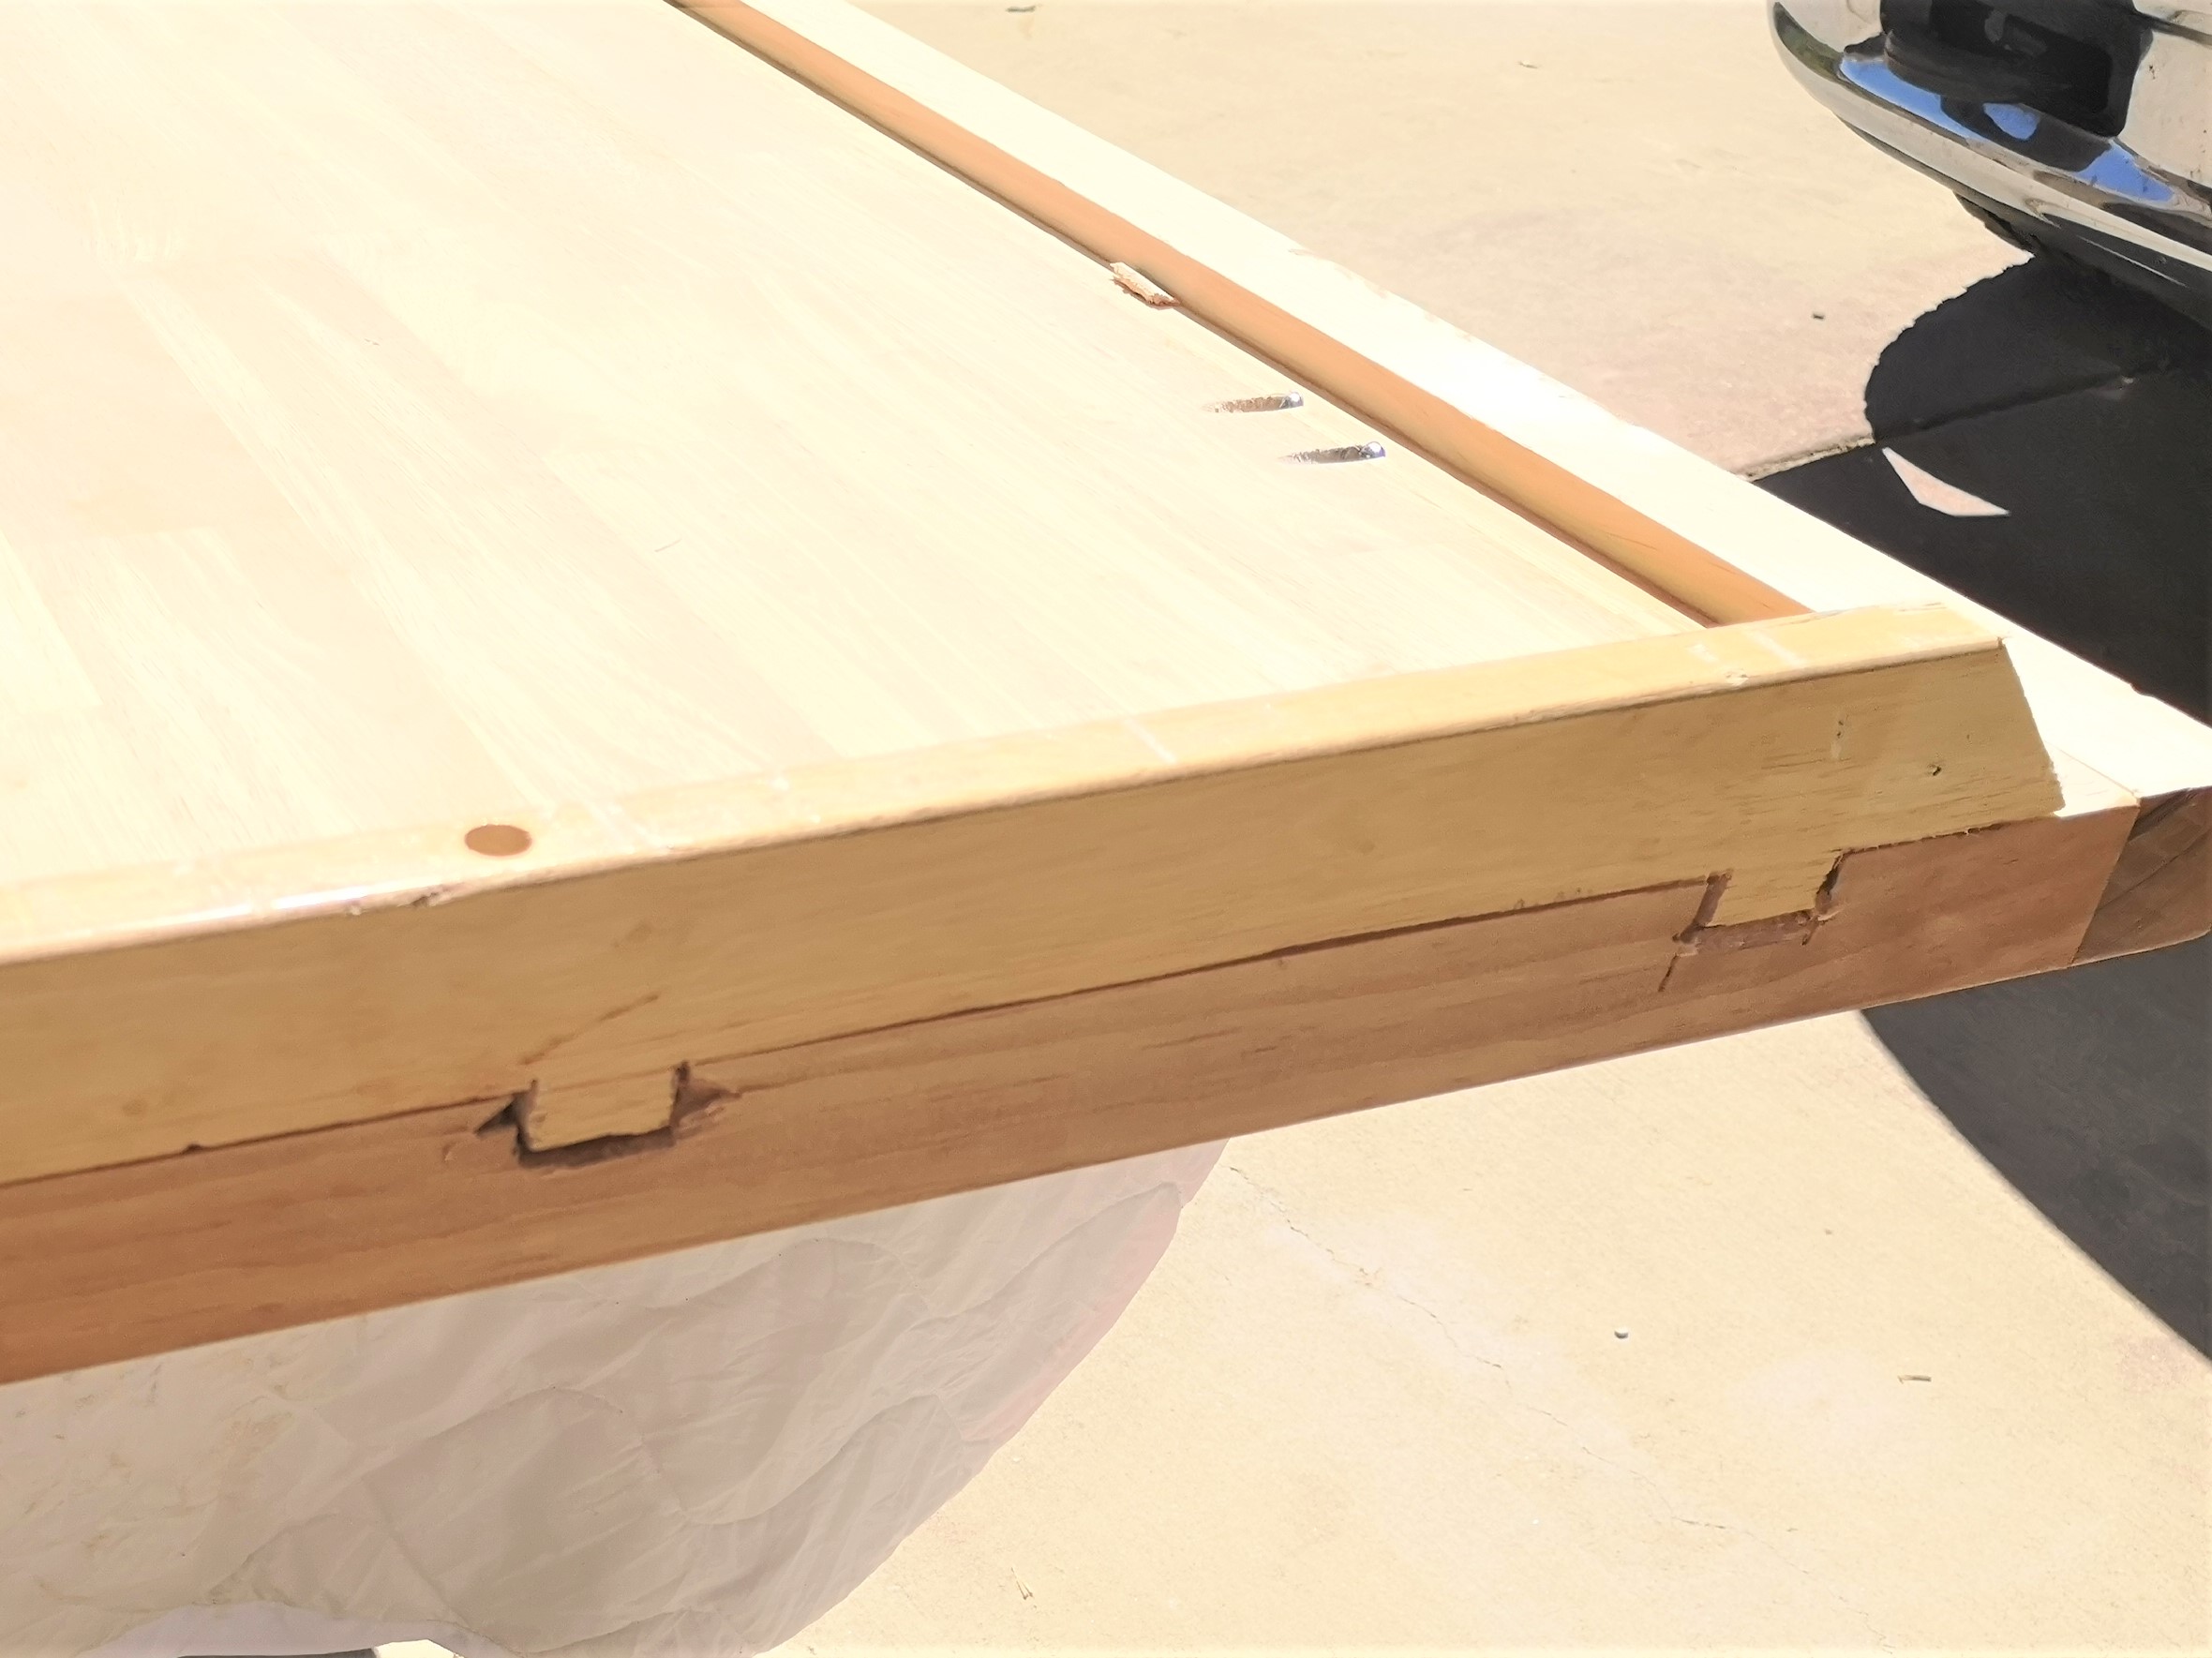
To configure how to keep both the shelf and counter completely and easily removable for machine maintenance and access to the plumbing and electrical we created two notches on the left and right. We cut coordinating holes out of the sides of the upcycled laundry folding countertop. this kept them from sliding front to back and off. It is not pretty, I have never used a chisel before, but it is 100% effective also no one will ever see it until they need to remove the counter.
We made sure to label the bracers and the sides of the counter to make sure we had the correct bracers on the correct walls. Securing the bracer boards to the wall in every possible stud available we installed the shelf first, always checking for a leveled bracer. We had the place the shelf just above all our plumbing and electrical. You can see in the pic below how we did this.
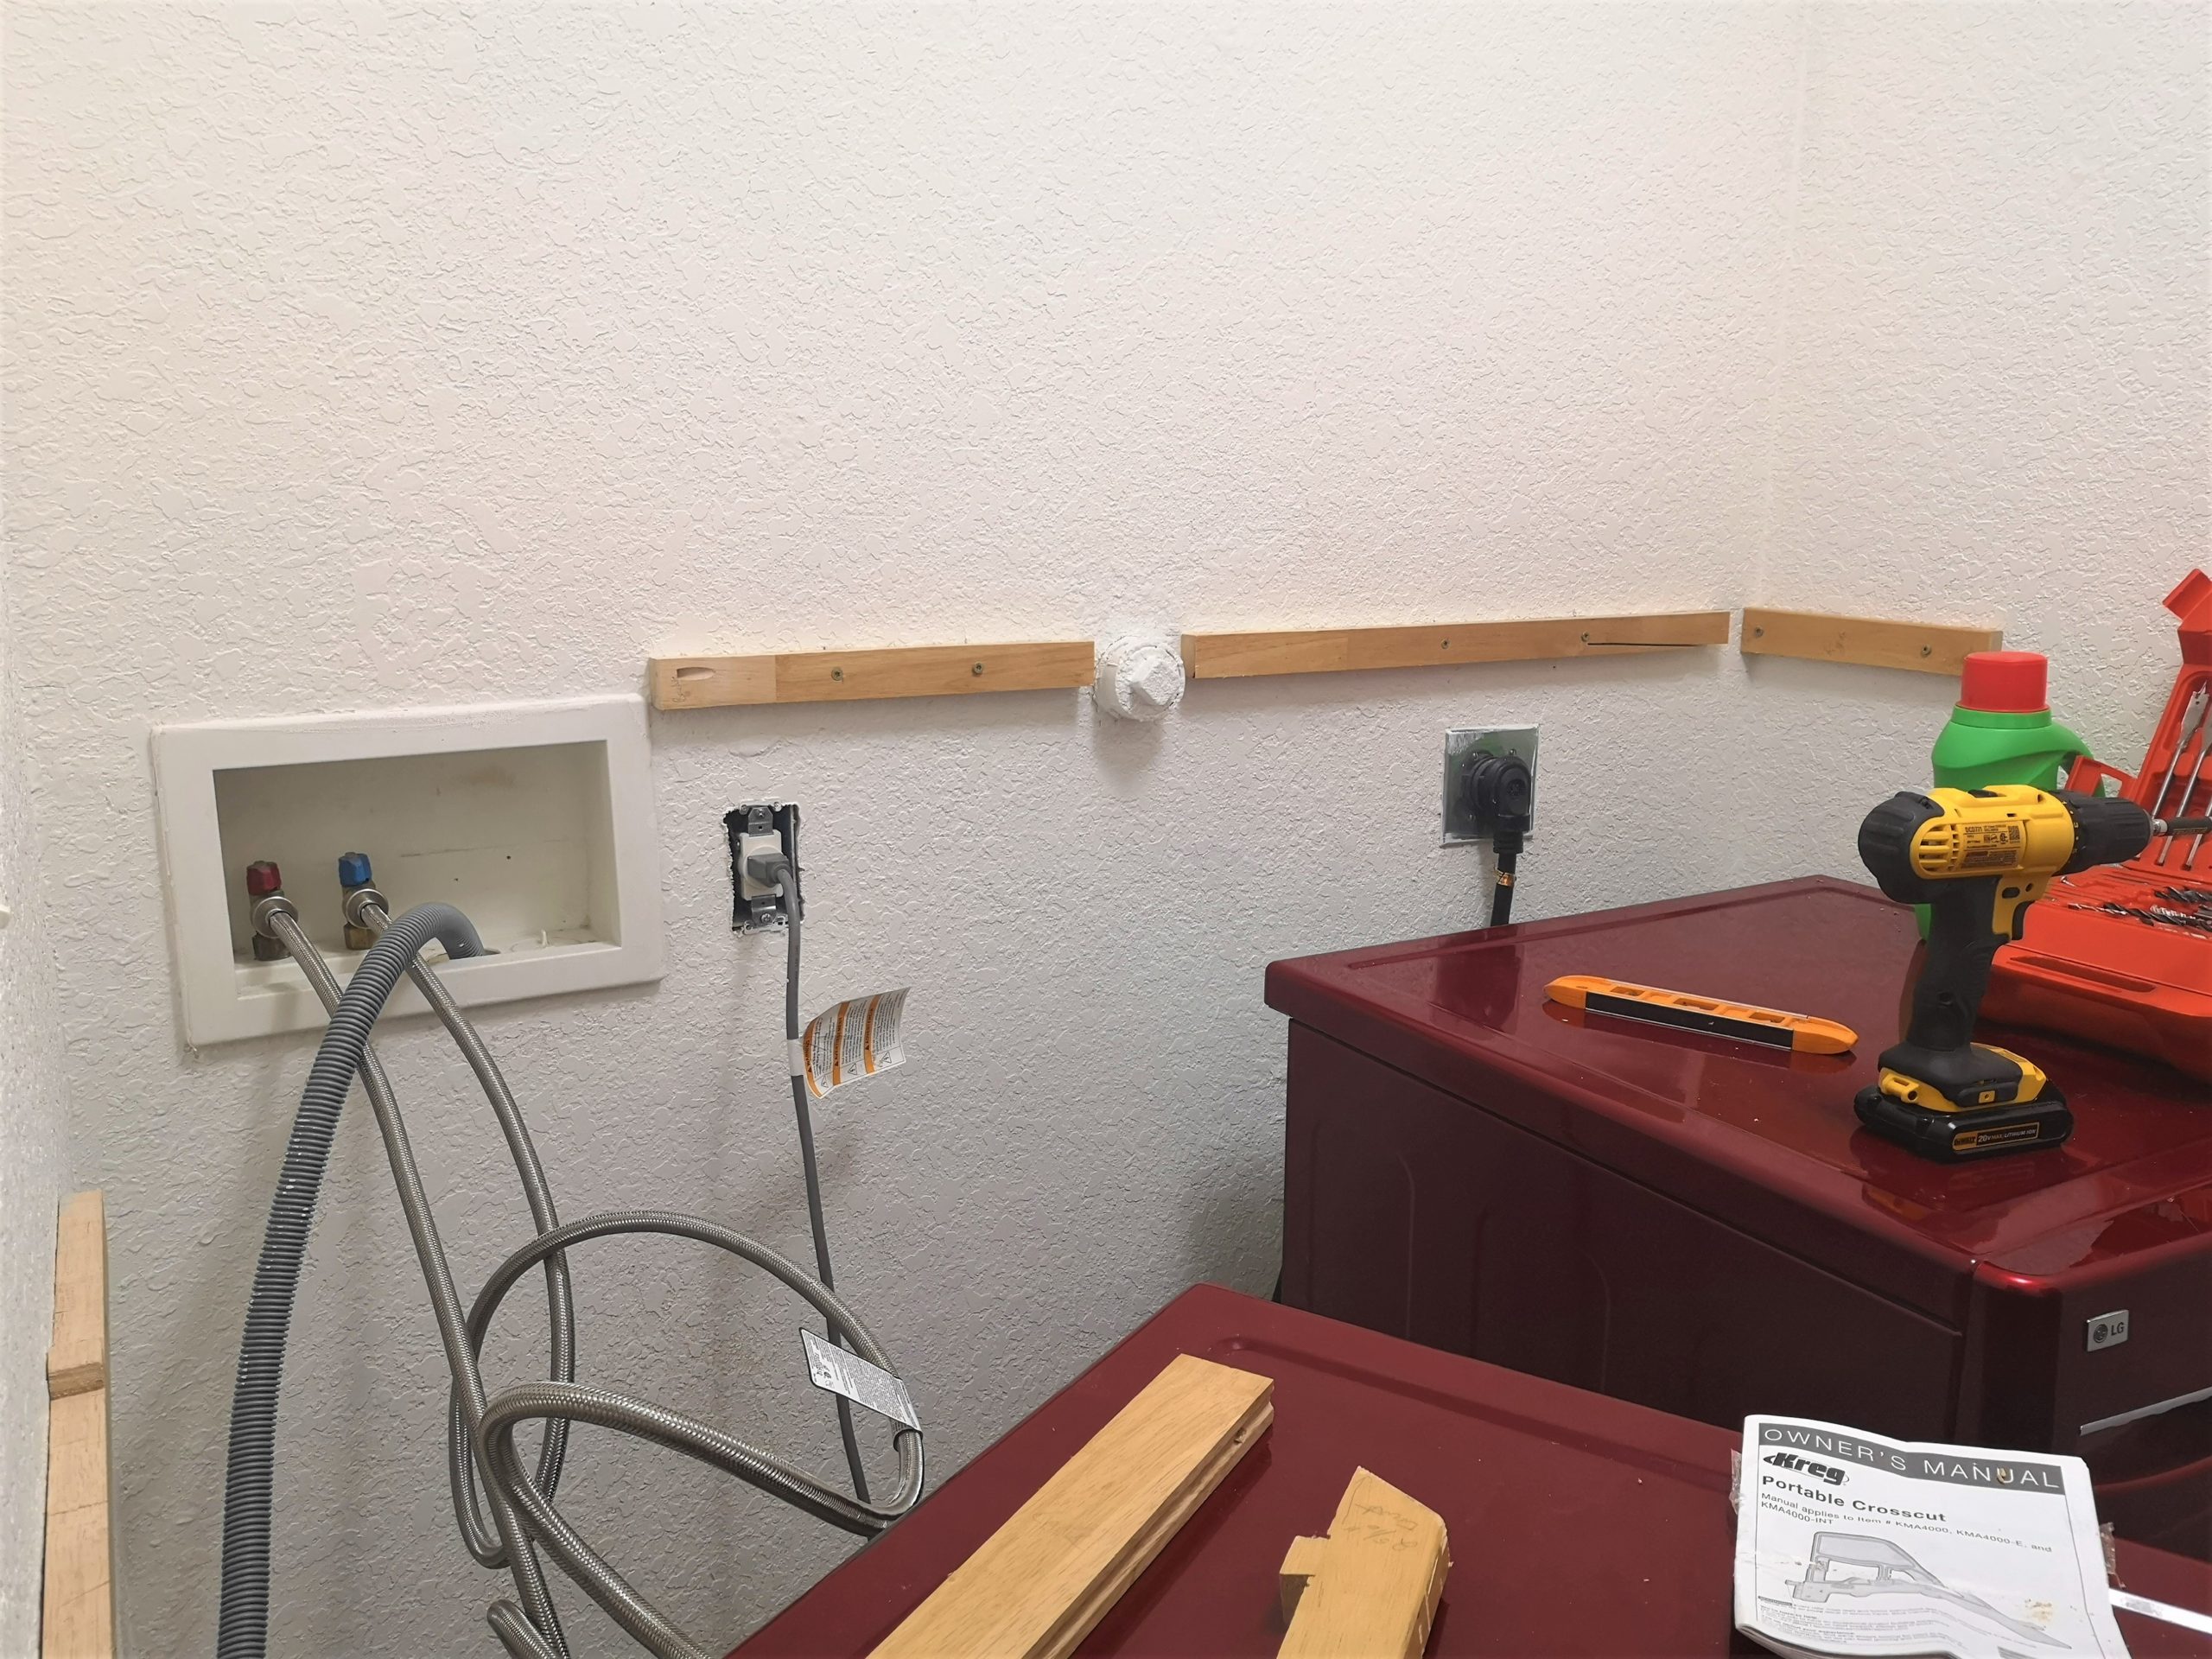
The shelf and the riser between it and the counter will hide all this ugliness but allow it to be easily accessed if needed. Once all the bracers were in we just set the upcycled laundry folding countertop and shelf into place. The notches keep them from shifting and sliding and all you need to do is lift up on them to release them and access the machines if they need to be maintained.
The Riser Board
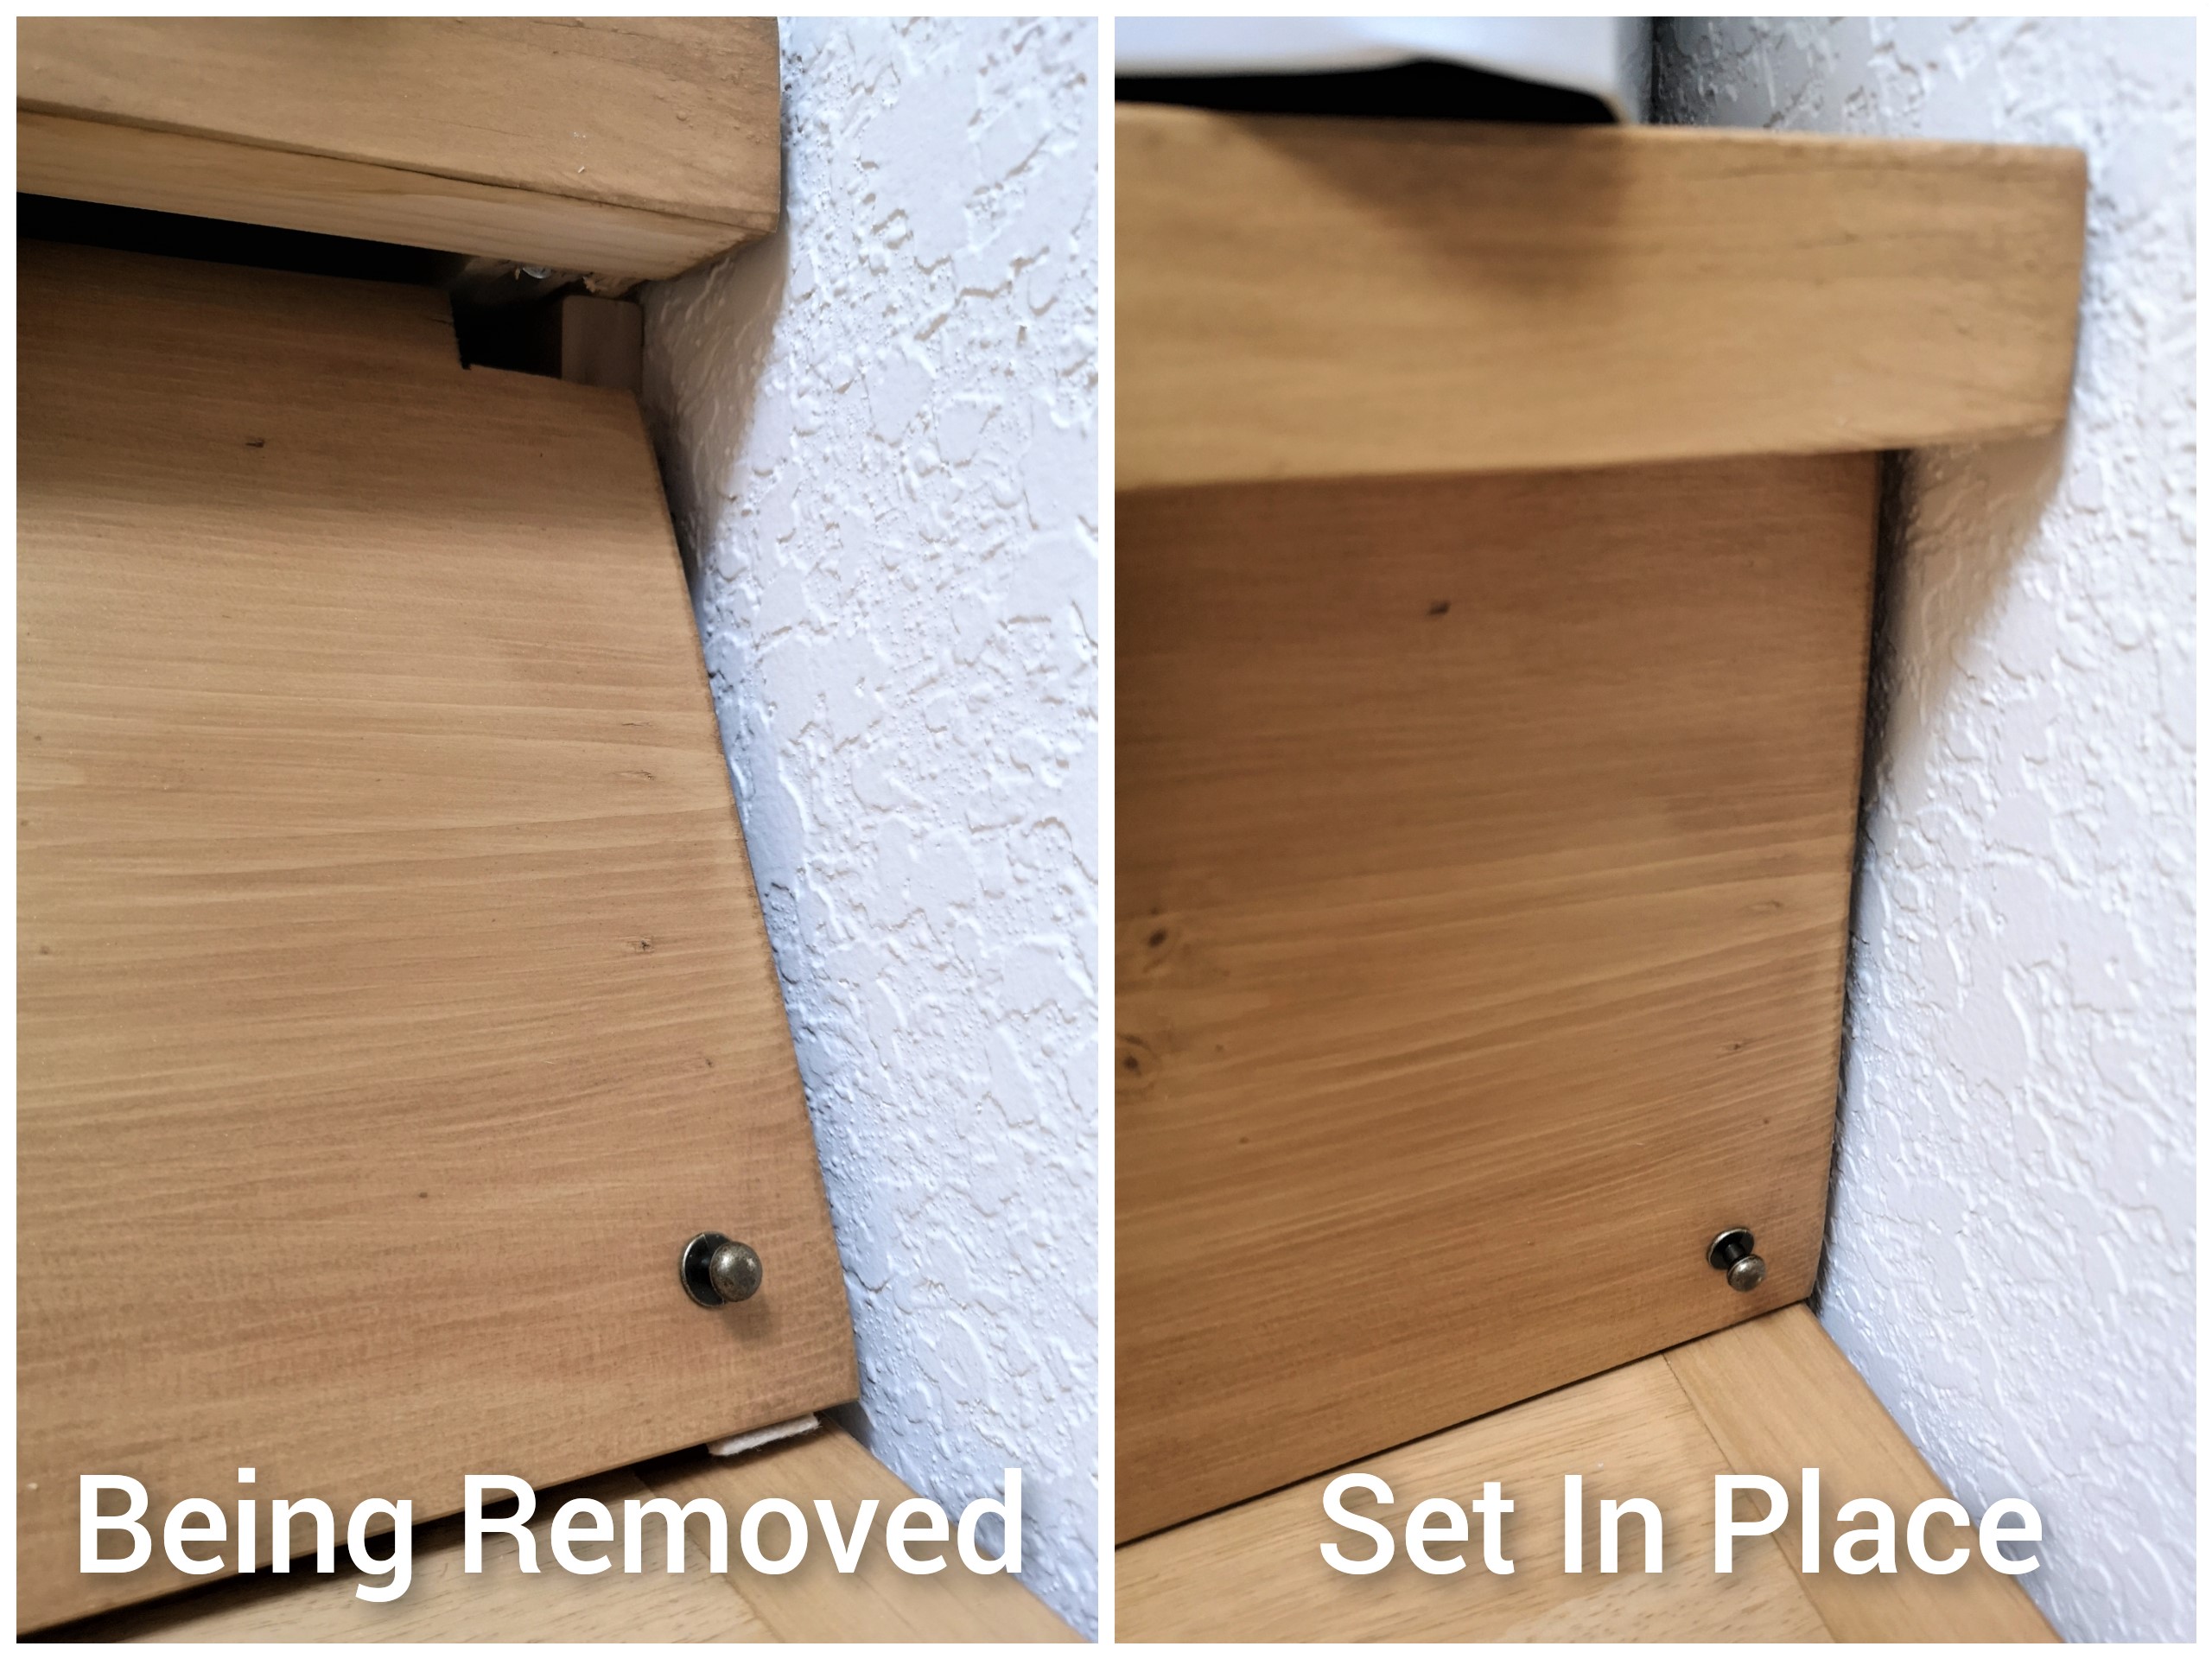
The riser wood board was new in a 10″ wide x 6′ long plank. I sanded and stained it and stained it with the same techniques and Terra Bella Paints & Finishes products used on the counter top and shelf. This riser board had two notches cut from the top corners so it can set up right under the shelf and not interfere with the 2×2 trim boarders of the shelf. I have also added two tiny pull knobs to the bottom left and right corners so it can be easily pulled out for access. I have added some tiny felt pads so it rests on the upcycled laundry folding countertop, to protect both pieces as it is moved in and out for access.
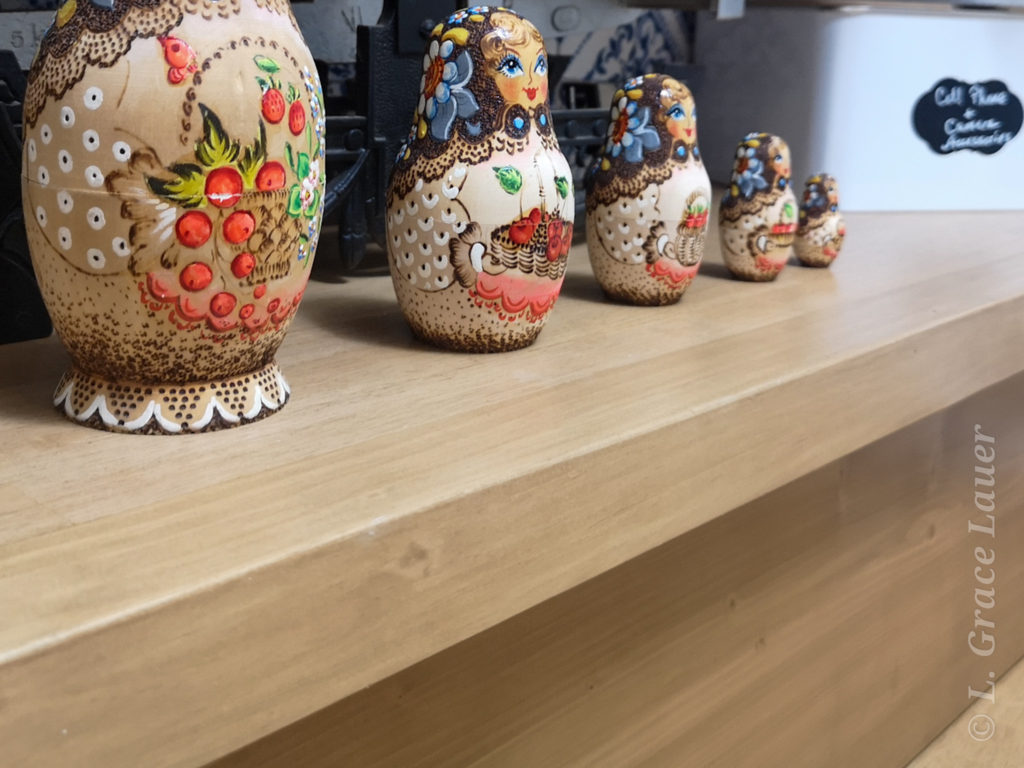
Here it is – UPCYCLED LAUNDRY FOLDING COUNTER!
Now just to decorate! Are you ready to see the final result? I am excited to show you the final pics of our finished upcycled laundry folding countertop DIY style!
Special thanks to the hubby for helping me install it and to my son who worked with my on various stages of the piece, assisting his mama while cutting and sanding.
PS. We added the leg in the middle to hide the excess space between the machines. As a bonus this extra piece of wood from the table and I used pocket hole jig and screws to attach it to the underside of the counter top. Good thing that piece is easy to remove. HAHA!
Budget
Thank you all for joining me thought this journey and I hope it has inspired you to think outside the box. So here is a quick financial breakdown. As you can see I saved over $300 on this project verses buying new from a big box store! That is definitely a budget I can handle!
| DIY ITEM | DIY COST | NEW ITEM | NEW COST |
| FB Marketplace Table | $20 | Unfinished Butcher Block 6′ long (2) | $340 |
| 2×2 8′ long trim boards (2) | $30 | N/A | |
| Pocket Hole Screws | $5 | N/A | |
| Bracer Wood (part of table) | FREE | Bracer Wood (3) | $15 |
| Screws for Bracer (part of table) | FREE | Screws for Bracers | $5 |
| Sealers (only used part of a bottle) | $15 | Sealers (only used part of a bottle) | $15 |
| TOTAL COST | $70 | TOTAL COST | $375 |
This room contains some very cool and the final makeover will be reveled in the upcoming weeks so check back! What do you think? Please leave a comment below and let me know. Be kind as this is my first build with joints and pocket hole screws. Haha!
Other Laundry Room Makeover Projects:
- 20 Min Floral Wreath – How To Video – Floral Wood Circle Wreath In 20 Minutes!
- Floating Shelves with a Hidden Secret – Surprising Floating Shelves With A Hidden Secret – Easy DIY Project
- Brilliant Laundry Room Cabinets – Ultimate Makeover – Old Hutch Upcycled Into Luxurious Wall Cabinets